Beam notes
Protective window checks every shift
A five minute protective window routine for fibre laser cutting heads, so dirty lenses stop costing you dross, bevel and burnt optics.
Why the little window matters
Every fibre laser cutting head has a protective window sitting between the focus optics and the cut. Its job is boring, it takes the spatter, the smoke and the fine dust so the expensive lenses behind it dont have to. Because it is cheap and out of sight, it is also the part most workshops forget about until cut quality falls apart on a Thursday afternoon and nobody can say why.
We see the same pattern in yards from Germiston to Gqeberha. The nozzle gets blamed, then the gas, then the material, then the machine. Someone phones us, and half the time the answer is a window with a grey haze or one small burnt spot right in the centre. A dirty window absorbs some of the beam, heats up, shifts focus slightly and spreads the energy. You get heavier dross, a lazy bevel on thicker plate and pierces that take longer than the recipe says.
The five minute routine
We ask operators to check the window at the start of every shift and after any crash, hard pierce failure or nozzle change on thick plate. It takes about five minutes once people have done it a few times.
- Power down the beam and wait for the head to cool. Never pull the drawer with the laser armed.
- Blow the area around the cartridge clean with dry air before you open it, so dust doesnt fall onto the optics.
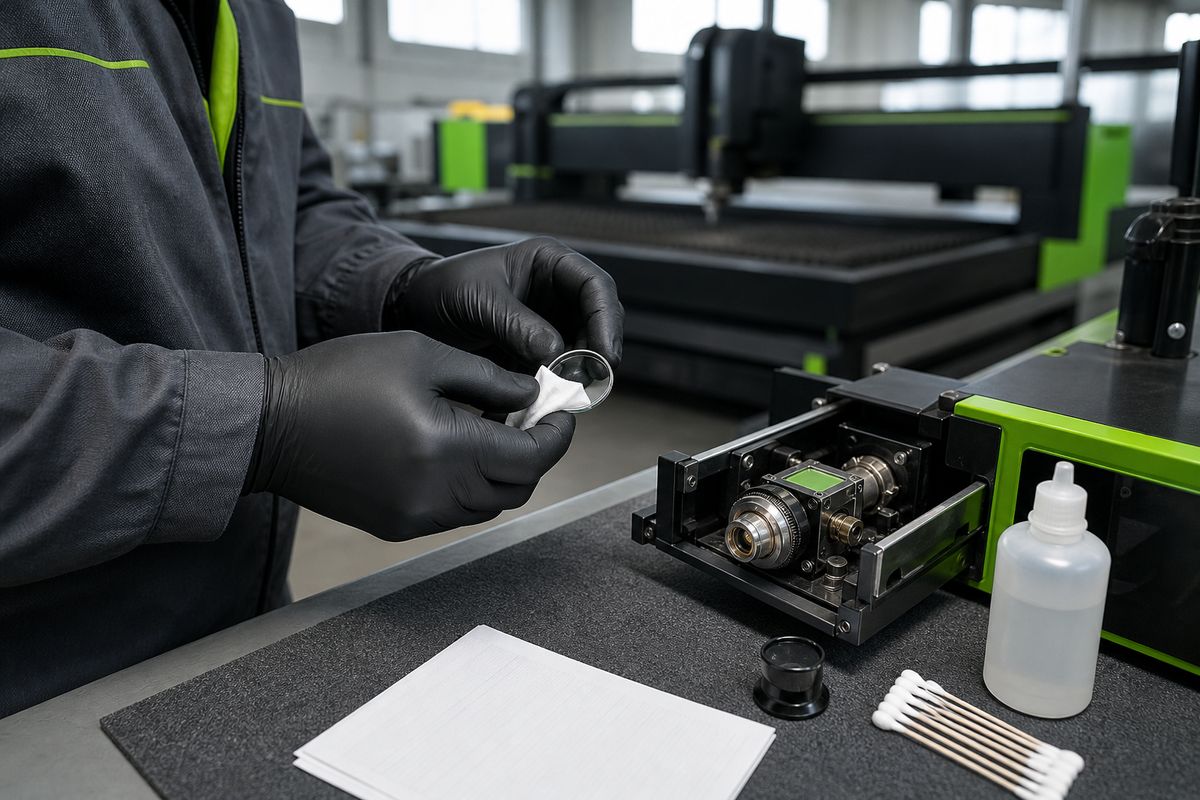
- Pull the drawer, hold the window by its edges only, and look at it against a white light or a sheet of paper.
- Use a loupe for the centre. A clean window looks like nothing. Haze, tiny dark pits or a yellow tint all mean action.
- Clean lightly with lint free wipes and lab grade isopropyl, one direction, one pass per wipe. Dont scrub in circles.
- Refit, note the result on the shift sheet, and run a short test cut before production.
The shift sheet is the bit that people skip, and its the part that saves money. If you log clean, cleaned or replaced, you quickly see which shift, material or recipe is eating windows.
Clean it or replace it
Light dust and a faint haze will usually clean off. Burnt spots, pits and any coating damage will not, and trying to polish them out just spreads the damage. Replace the window. Keep at least a box of ten on the shelf for each head type, stored in their sealed sleeves in a dry cupboard, not loose in the toolbox next to the angle grinder discs. If you are not sure which window fits your head, our spares team can match it from a photo of the cartridge.
A good rule from our own floor, if the same head needs a new window more than once a week, stop treating the window as the problem. Look at nozzle condition, standoff height, pierce settings on thick plate and whether the sensor is actually holding height. Our note on pierce windows on thick plate covers the pierce side of that story.
South African shop conditions
Highveld dust in winter, coastal humidity on the KZN and Cape coasts and dirty compressed air are the three things that shorten window life here more than anything else. If your air dryer is tired or the filters havent been changed since the machine was commissioned, moisture and oil end up on the optics. Drain the receiver daily, change filter elements on schedule and keep the cutting room doors closed when the wind picks up. A power cut adds its own twist, a hard stop mid pierce can throw spatter upwards, so check the window after any outage before you restart the nest.
Make it somebodys job
The routine only works when one person owns it each shift. Put the check on the start up card next to the gas pressures, keep wipes, alcohol and a loupe in a sealed box at the machine, and train every new operator on it in their first week. Our training sessions include hands on window changes for CutLine 1500 and PlateGate XL heads. If cut quality still drifts after a clean window, tell us about the window, the nozzle and a test edge through our contact form and we will help you narrow it down.