Cut
Prototype R&D cells
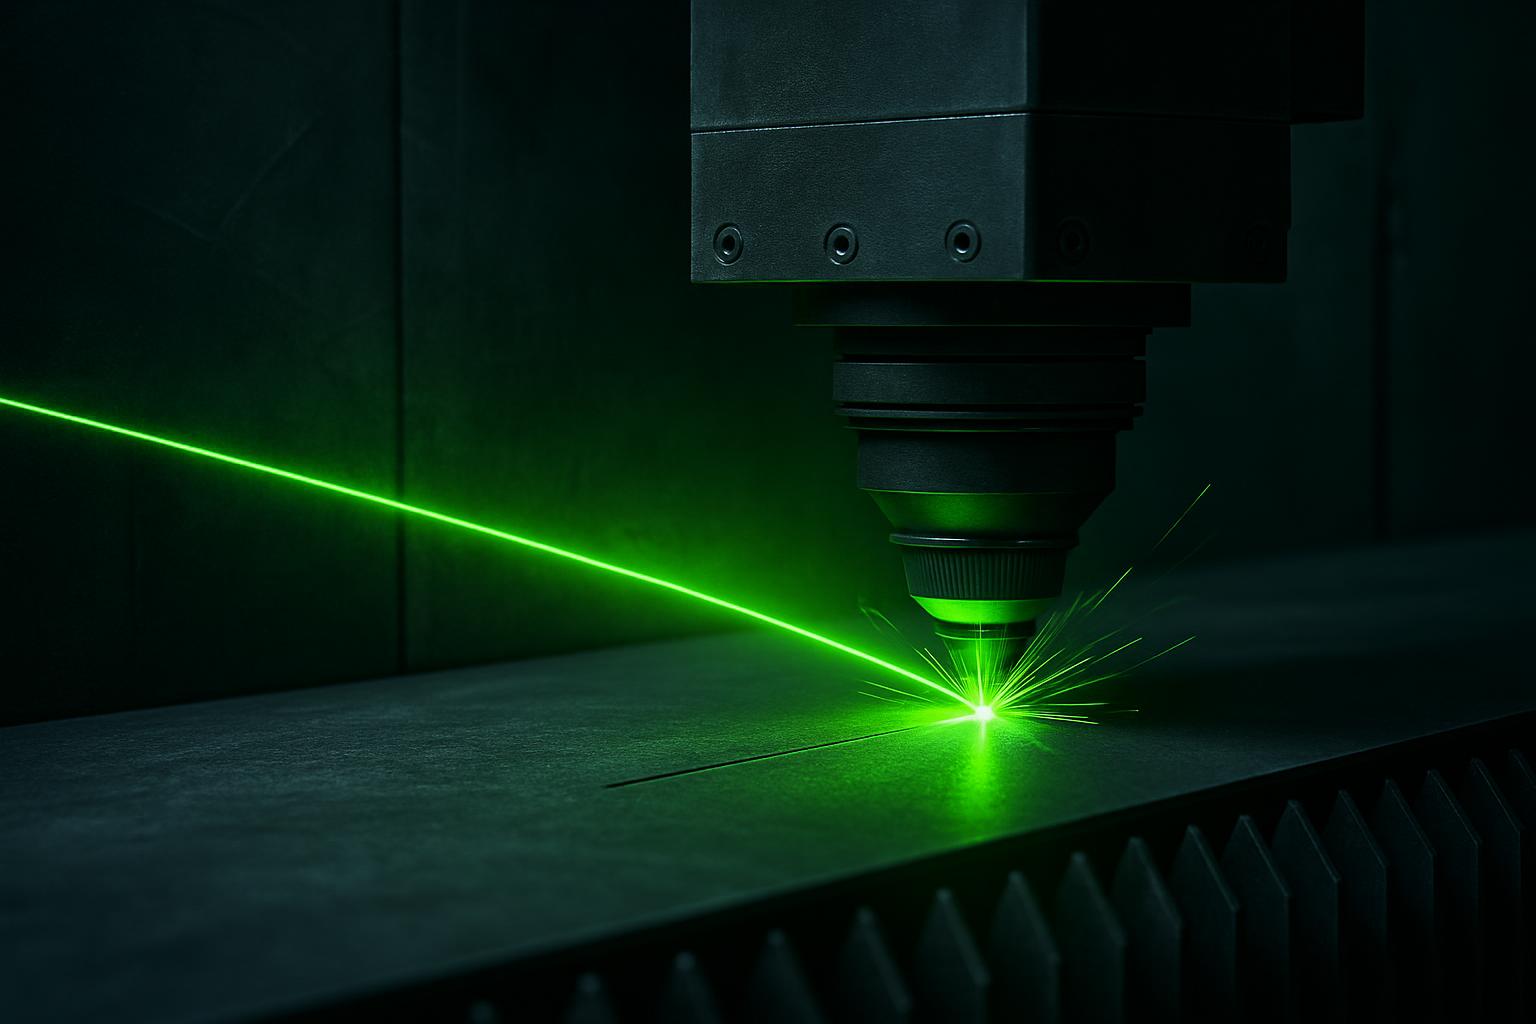
Prototype R&D cells let your team trial cuts, plan nests, and check marking quality before committing to production. We help you prove concepts and refine jobs for local conditions.
Systems
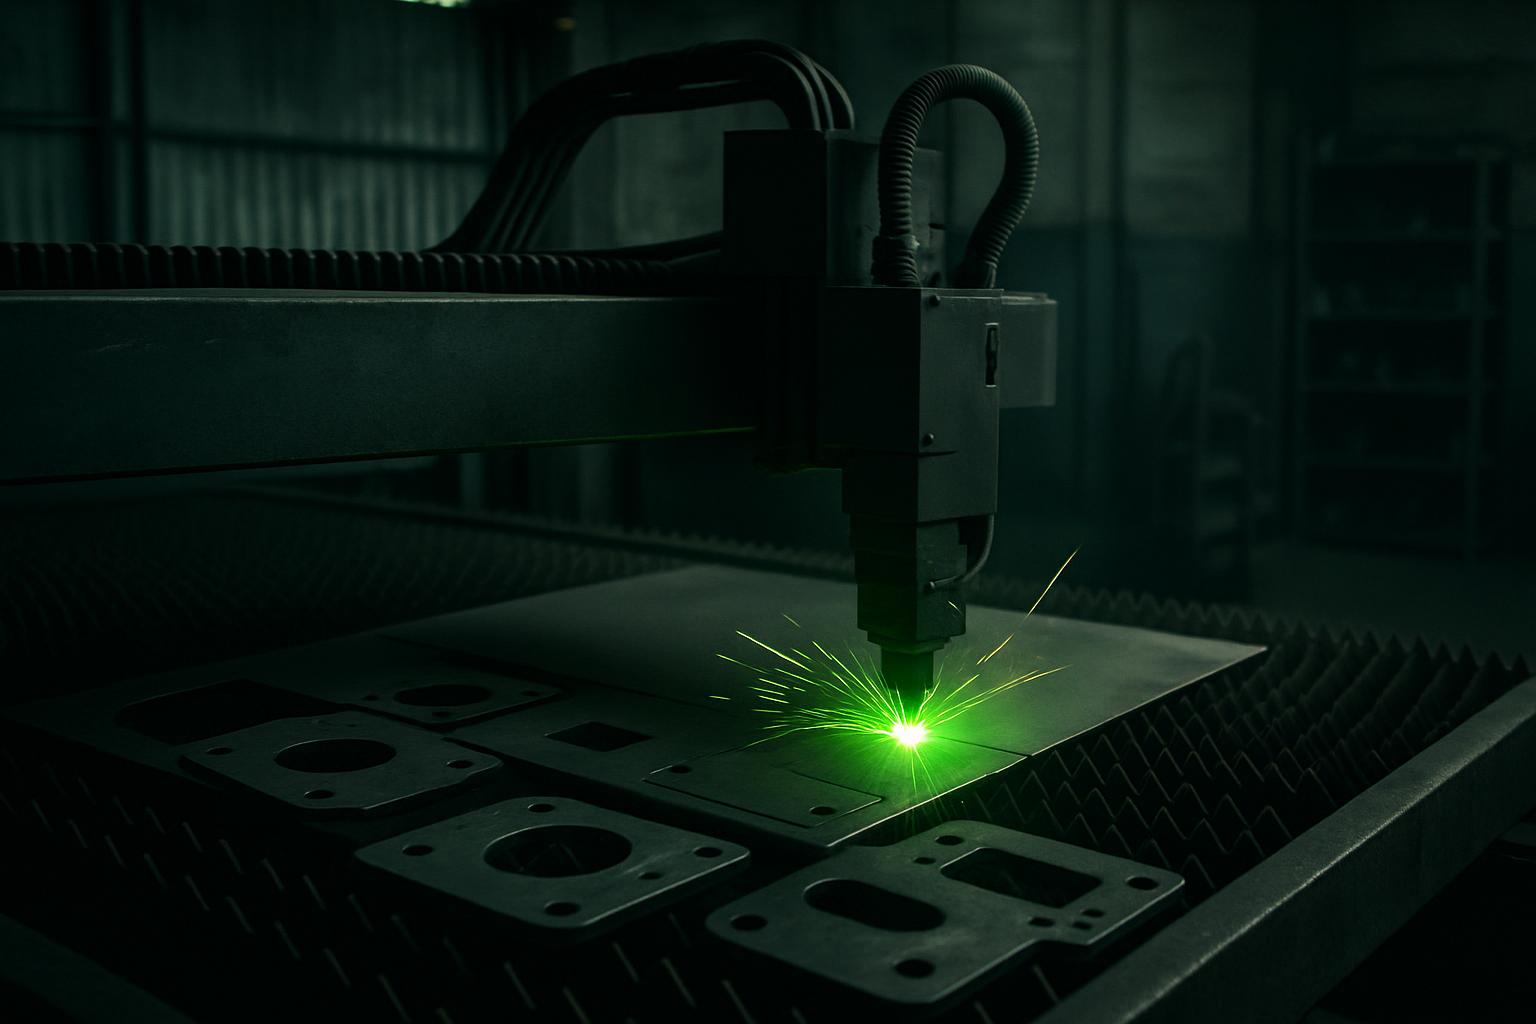
Start with these systems
Desktop marker
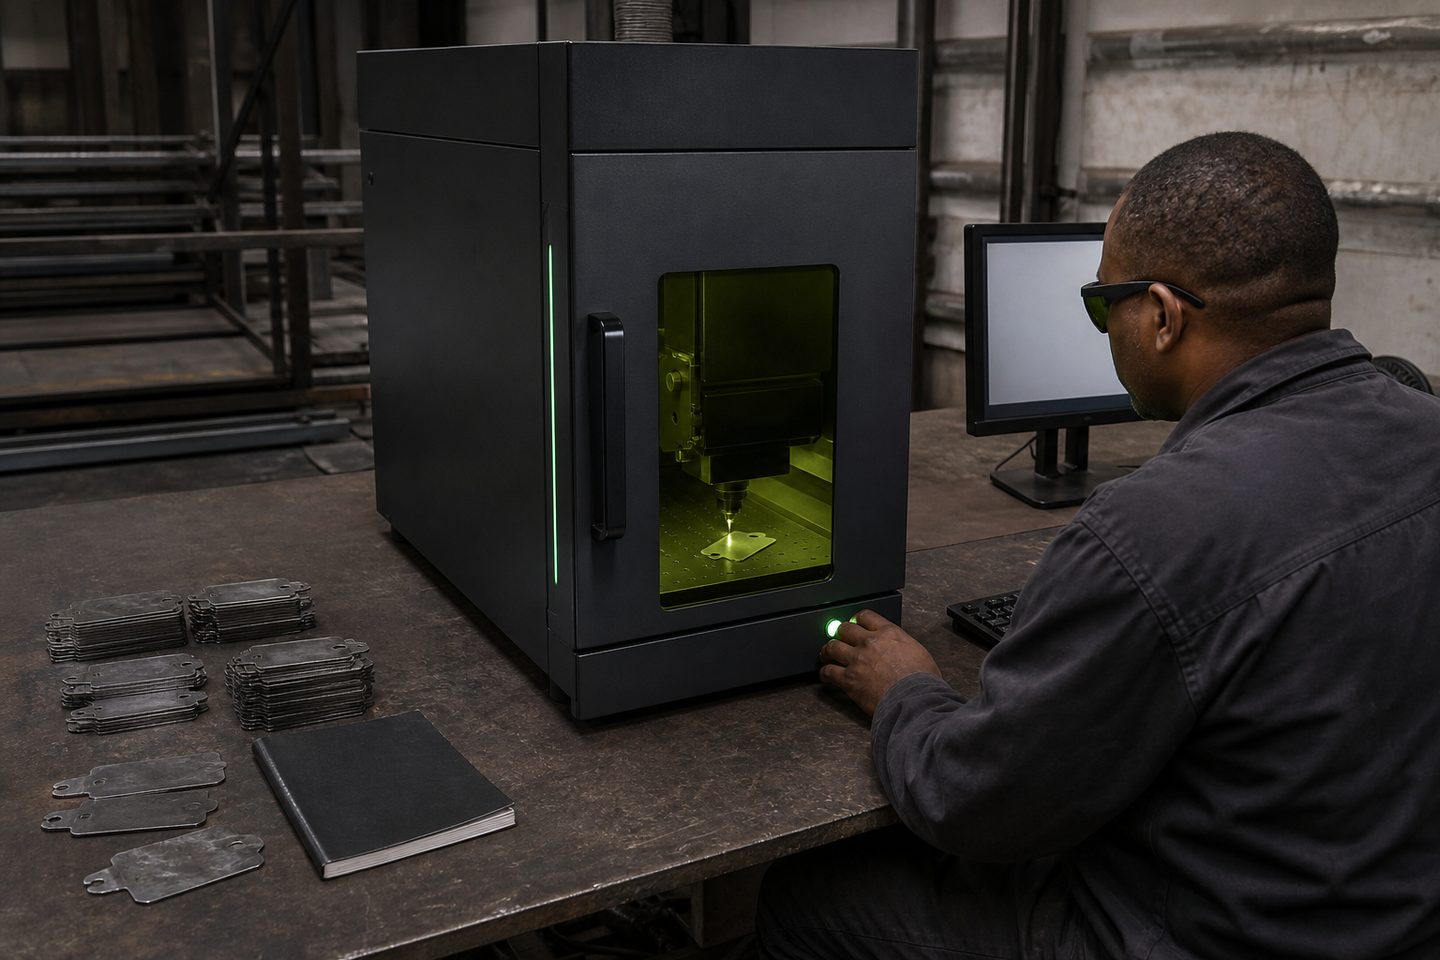
BeamDesk Mini
A benchtop fibre marker for short runs, samples, and R&D cells that still need production-grade codes.
Explore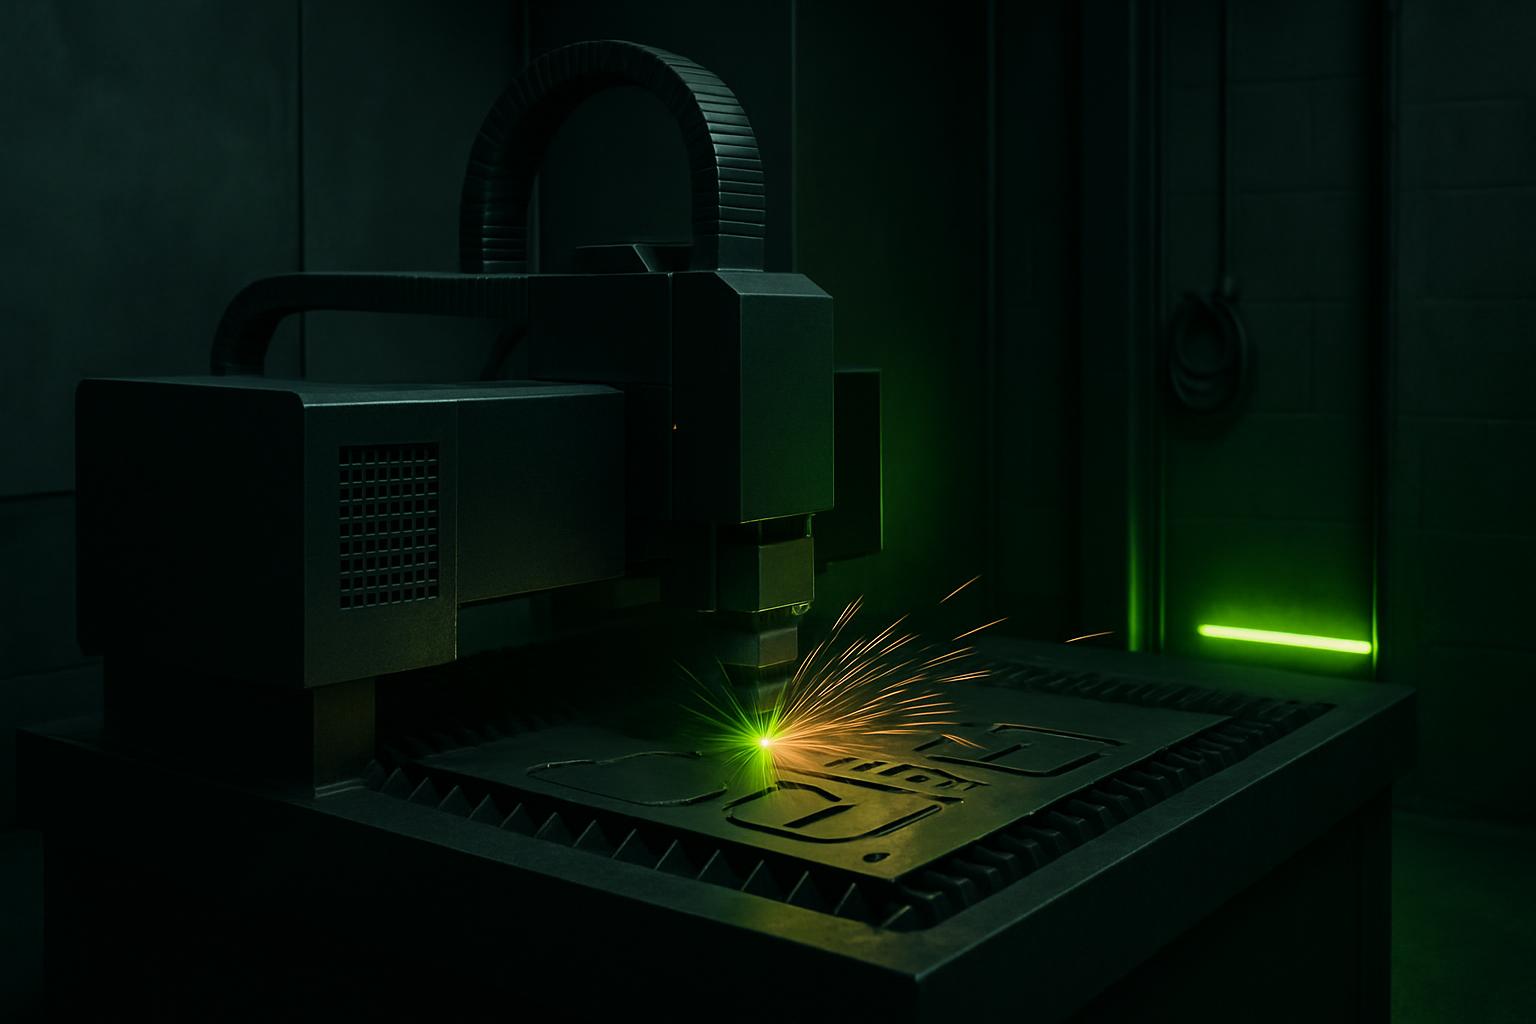
Nesting software
SheetNest Pro
Nesting software and nest briefs paired with CutLine cells, so scrap, pierce order and remnants stay under control.
Explore
Fibre marking
Mark Pro 30
A compact fibre marking cell for durable serials, logos, and part identification on SA job-shop steel.
ExploreCommon materials and parts for prototyping
South African R&D and estimating teams usually work with mild steel, stainless steel, and aluminium in sheet, plate or small tube for prototype parts. These might be brackets, panels, mounting plates, enclosures, or small mechanical assemblies. Stainless 304 and 316 are common in food, medical and coastal projects, while 1050 or 6082 aluminium features in electrical and transport work.
Most prototypes need repeatable accuracy and clean edges, so teams check edge finish, heat tint and marking quality. On galvanised or coated sheet, you may test both cut and mark to make sure paint or plating survives the process.
Systems for R&D cells and why they fit
We recommend compact and flexible systems for prototype R&D cells. The BeamDesk Mini is ideal for benchtop marking, sample jobs and short runs where a full-size marker wont fit. For deeper marks and serials, the Mark Pro 30 offers a closed cell for safety and repeatable results on steel, stainless or aluminium.
For teams needing to trial cutting and nesting, our SheetNest Pro nesting software works with CutLine 1500 systems. This combo gives you real-world nests and estimated yields on prototype layouts, useful for quoting and process planning. The small cell footprint also suits labs and estimating offices.
How a typical prototype cell runs a job
A standard R&D job in a prototype cell follows a clear path from drawing to finished part. Each step checks for fit, function and finish before you scale up.
Good documentation and photos of every trial help teams repeat results and avoid confusion if settings change between runs.
- Import or sketch the CAD file for the part
- Set up the nest using SheetNest Pro, picking sheet size and part quantity
- Load the correct material and set assist gas (oxygen, nitrogen or air)
- Run a small batch or single test cut on the CutLine 1500
- Inspect edges, check dimensions, note any dross, burr or heat tint
- Use BeamDesk Mini or Mark Pro 30 to apply serials, logos or codes
- Record settings, take photos and update your R&D file
Preventing quality issues in trials
The most common problems in prototype cells are dirty cuts, incorrect focus, or incomplete nests. A dirty protective window under the cutting head quickly ruins edge quality. Always check and clean it before starting, especially after a rush job or change in material.
Marking faults like poor contrast on stainless or shallow engraving often come from using the wrong parameters or forgetting to focus between jobs. Extraction is vital as well: fine dust or fume builds up fast in closed rooms and sets off workshop alarms if its left unchecked.
What to send us for sample parts and trials
For a sample cut or mark, send us your part drawing in DXF or STEP format, with details of the material, thickness, and what you need checked (edge finish, mark, code clarity, hole size, etc). If you have a nest or layout in mind, include that too.
Let us know if you want us to try multiple materials or compare assist gases. Any special finishing notes, like powder coat after cut, help us give you advice tailored to your process. You can send us a message using our contact form, Ms Kelebogile Nxumalo runs first-article reviews at Sunnyrock and makes sure your trial fits what you need.
What our Fibre Laser customers say
Verified Google reviews