Cut
Medical instrument marking
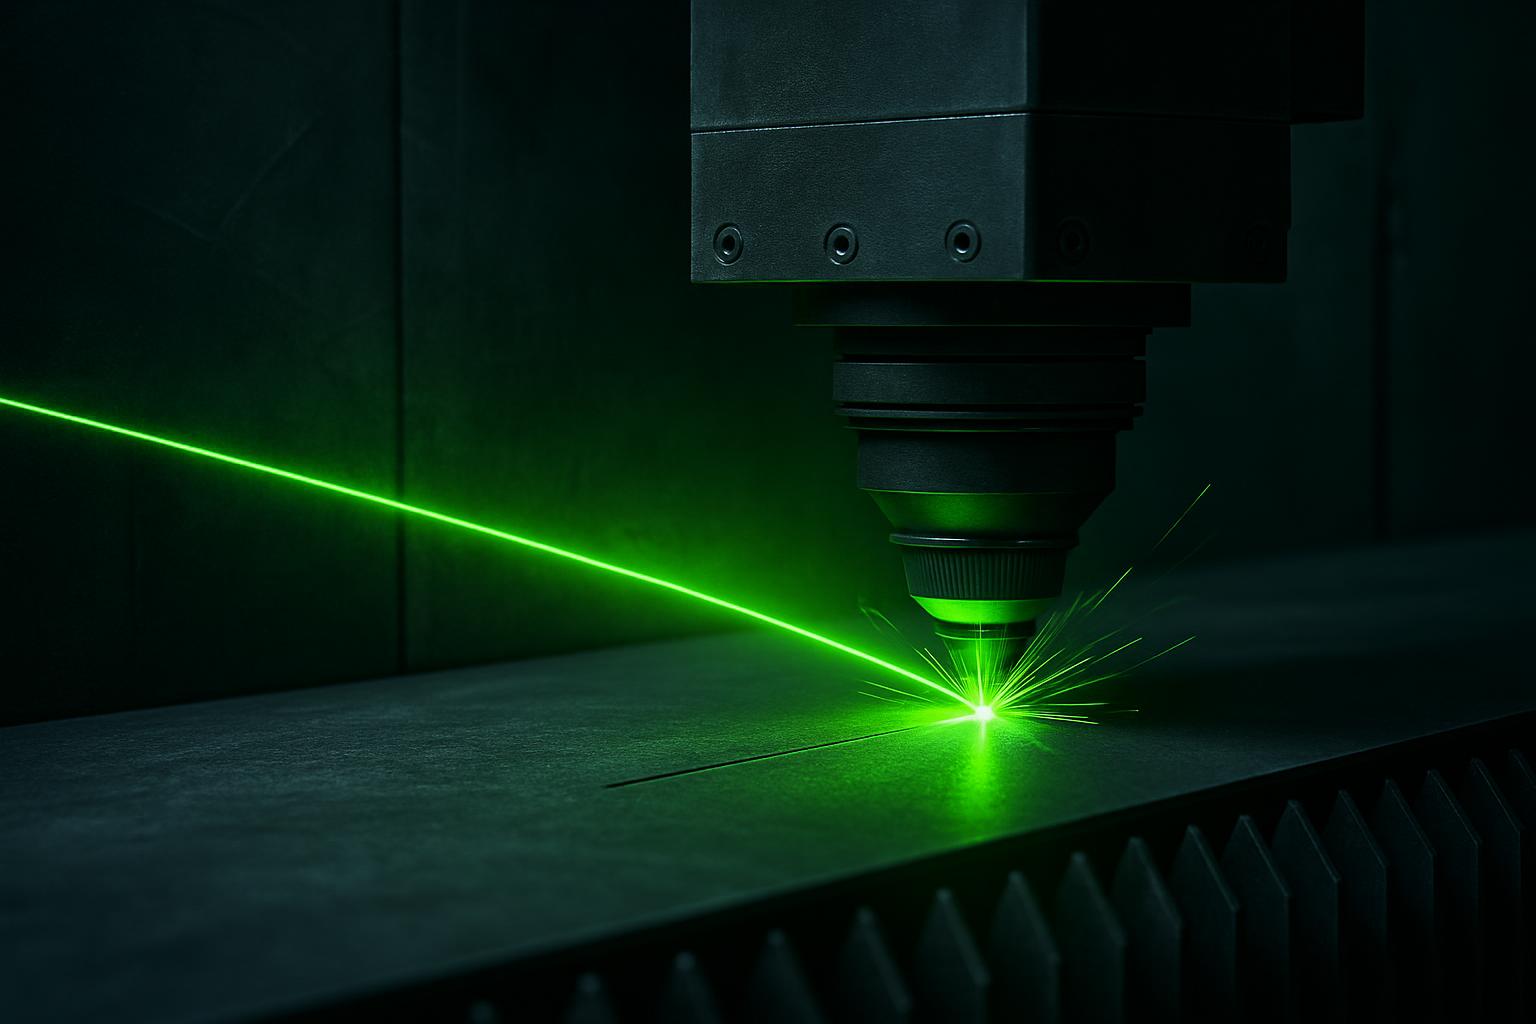
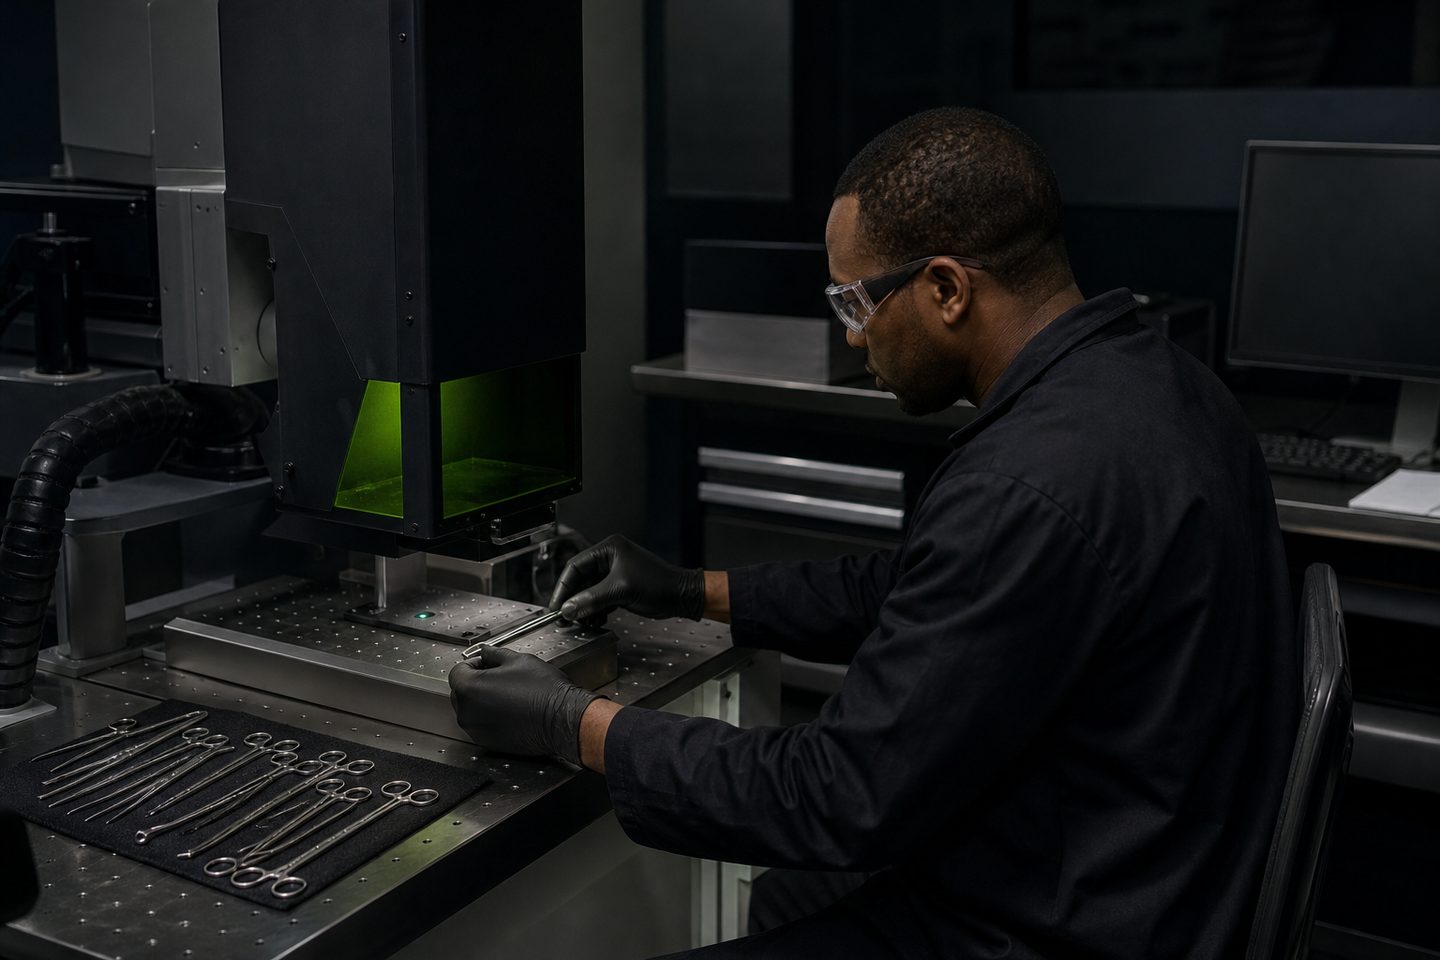
Medical instruments need permanent, legible identification that stands up to cleaning and sterilisation. Fibre laser marking gives clear, precise codes and logos on stainless, titanium and tools steels.
Systems
Start with these systems
Precision micro
MicroMark Lab
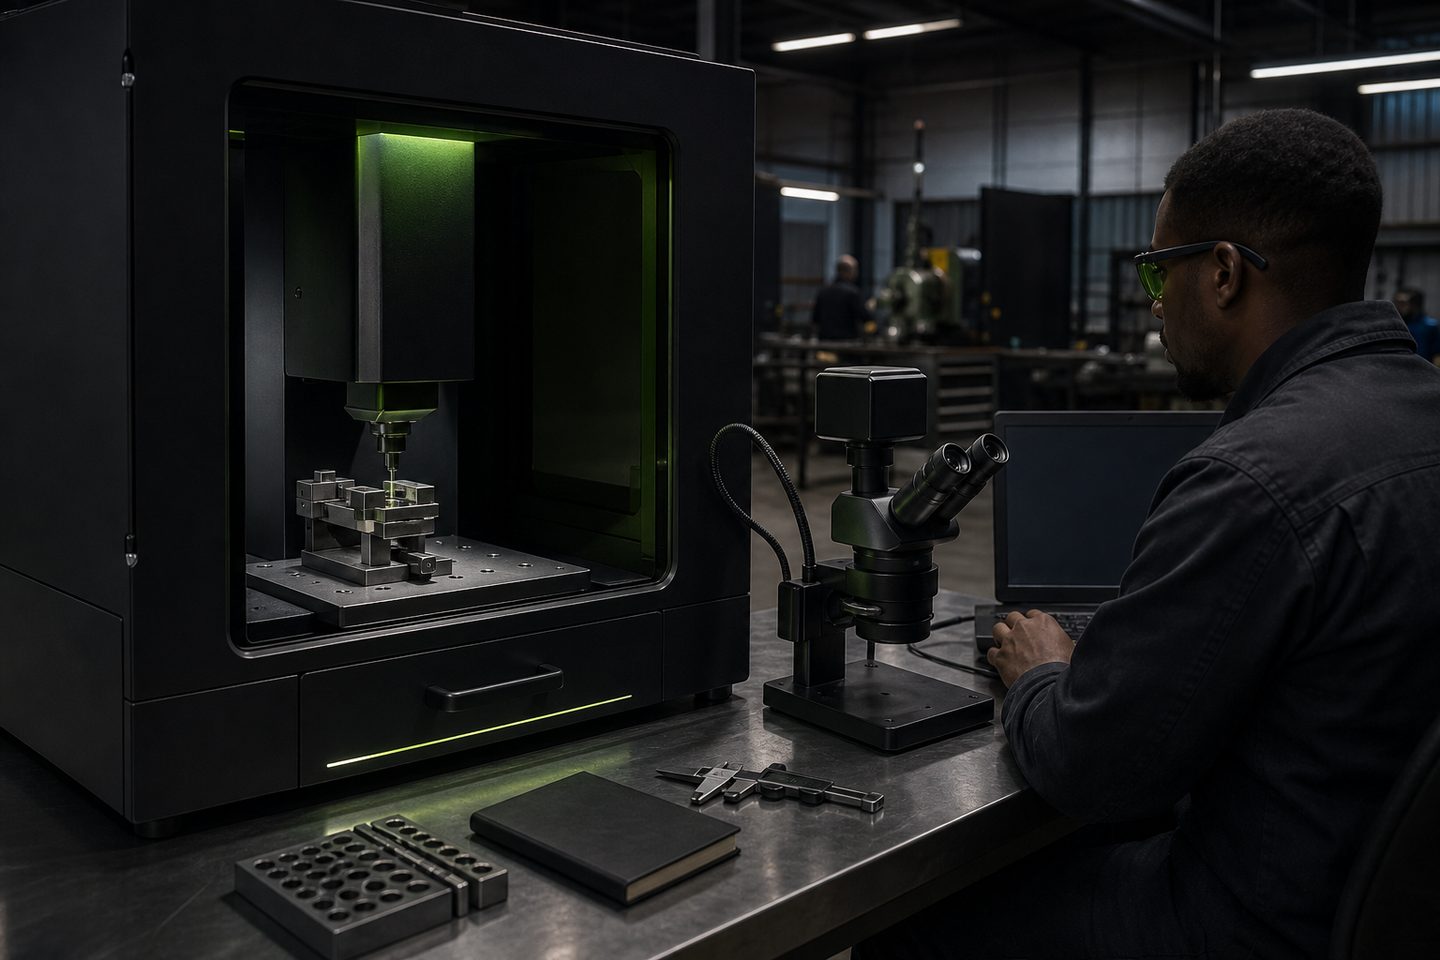
Fine-feature fibre marking for medical, electronics, and jewellery work where character height and contrast are tight.
Explore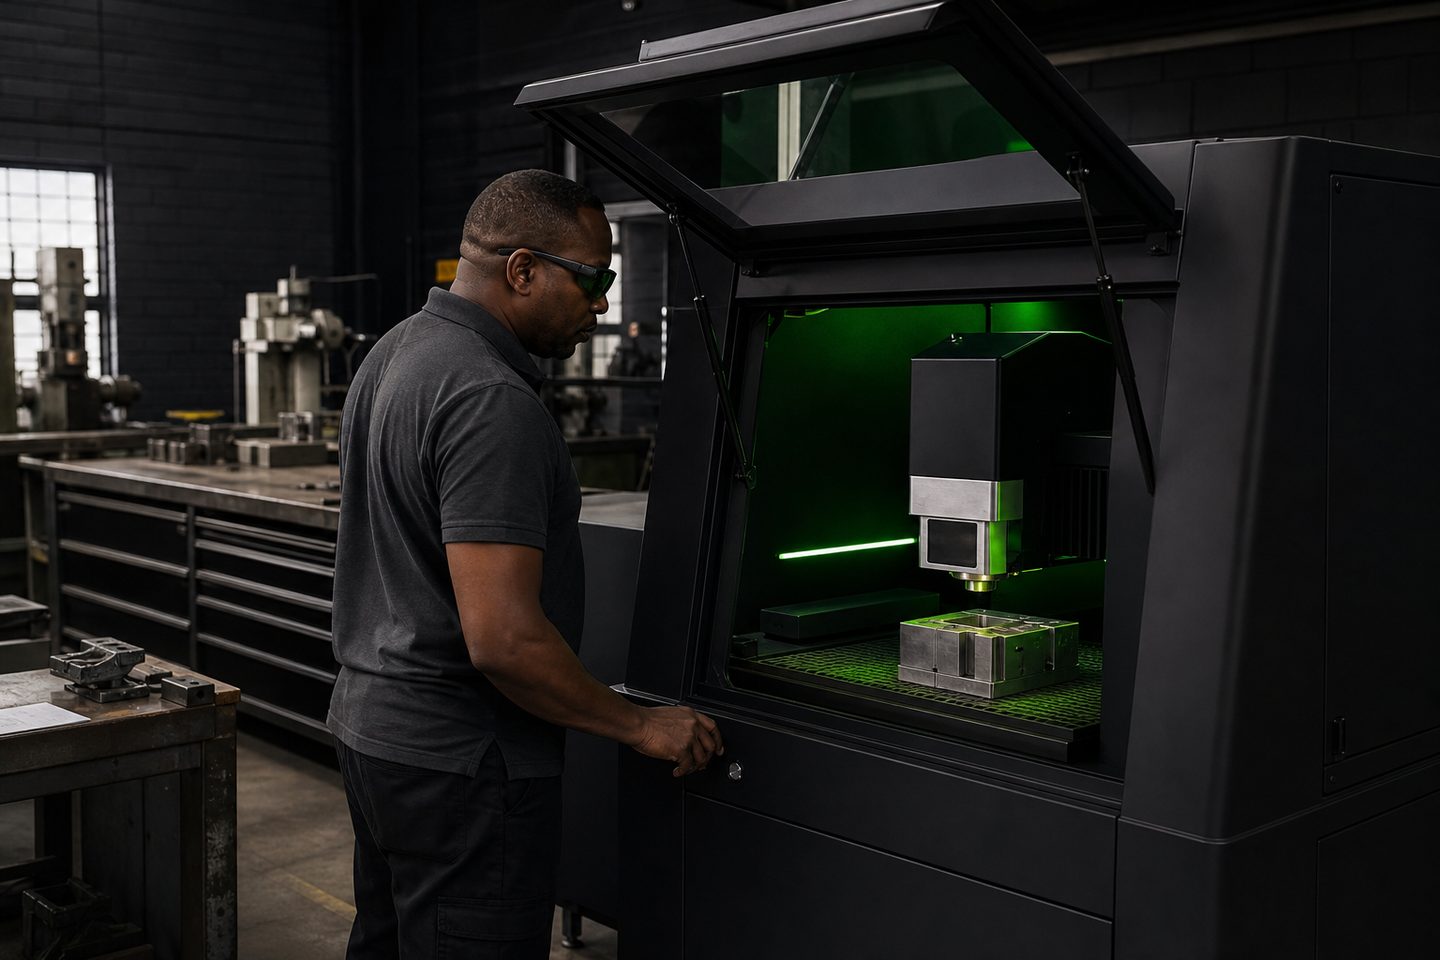
Deep engraving
EngraveFab 50
Higher-energy fibre engraving for deep marks, mould inserts, and tooling IDs that must stay readable after wear.
Explore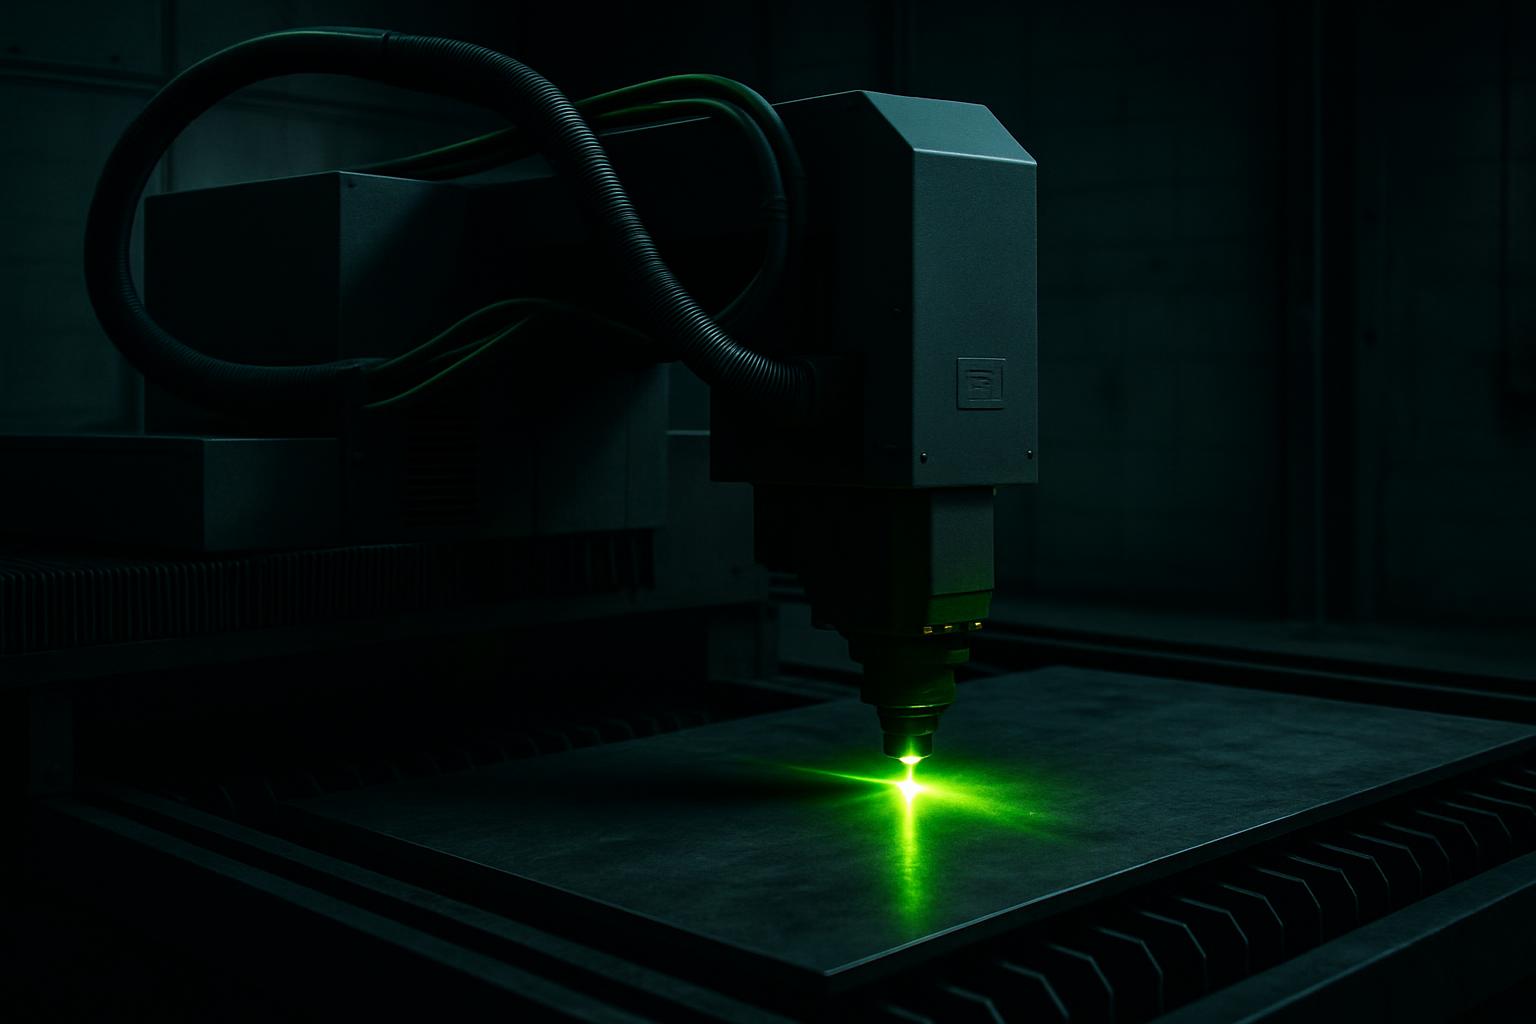
Fibre marking
Mark Pro 30
A compact fibre marking cell for durable serials, logos, and part identification on SA job-shop steel.
ExploreCommon parts and materials in medical marking
In South African medical manufacturing and repair, most instruments are stainless steel, mainly 304 and 316 grades. Surgical scissors, forceps, clamps, scalpels, dental picks and orthopaedic implants often need unique IDs for traceability.
Some specialist items such as bone plates, stents and high-value tools are titanium or titanium alloys, while reusable suction tubes and handles may use coated aluminium. All these materials need a mark that will survive repeated autoclaving, cleaning and handling.
Fibre laser systems that fit medical marking jobs
For fine feature, high-contrast marks on small parts, our MicroMark Lab is the usual choice. It delivers extremely precise, low-heat marks on polished metals, ideal for medical and dental tools.
Where deeper engraving is required, for example on instruments that will see heavy wear or in high-volume marking, the EngraveFab 50 can put permanent, durable codes or logos into steel or titanium. For general part IDs, serials and logos on trays, handles and components, Mark Pro 30 offers a compact, easy-to-set-up option with adjustable power for different materials.
- MicroMark Lab for fine and micro marking on small items
- EngraveFab 50 for deep, wear-resistant codes or serials
- Mark Pro 30 for flexible logos, batch and device IDs
How a medical marking job runs from drawing to marked part
A typical medical instrument marking process at FibreLaser SA goes through these steps:
- Review the instrument type, material and marking requirement
- Prepare or receive marking files (logos, serials, 2D codes)
- Choose the best marking cell for the job and check the fixture
- Test laser settings for mark depth, contrast and legibility
- Run a first-article mark and inspect for quality issues
- Approve and document the mark before starting production
Quality problems and how to avoid them
Poor contrast, blurring or uneven marks are often caused by incorrect settings or dirty surfaces. Stainless steel must be free of oil and scale before marking. For annealed (colour) marks, the laser settings must match the grade: too much power burns the surface, too little gives faint marks.
On small or curved instruments, poor clamping or misalignment leads to skew or distorted marks. Always use a secure fixture designed for the part. After marking, check that codes and numbers are readable under magnification and withstand basic cleaning without fading.
What to send us for sample marking
For a sample mark or process development, send us a few typical instruments or test samples made from the actual material. Include the format and type of mark you want, such as a hospital logo, serial number, or Data Matrix code.
If the part is curved or unusually shaped, note the critical marking area and any cleaning or sterilisation requirements. We will review your sample, recommend the best system, and run a first-article demonstration at our Sunnyrock HQ, led by Ms Kelebogile Nxumalo.
- 3 to 5 sample instruments or test blanks
- Drawing or image of the required mark
- Notes on material, cleaning and handling
- Special instructions for fixturing or alignment
What our Fibre Laser customers say
Verified Google reviews