Beam notes
Clean bench mark habits
Laser marking instrument IDs on stainless and medical devices demands proper cleaning, gloves and careful surface prep. Skipping clean habits leads to failed marks and wasted effort.
Clean benches and real-world challenges
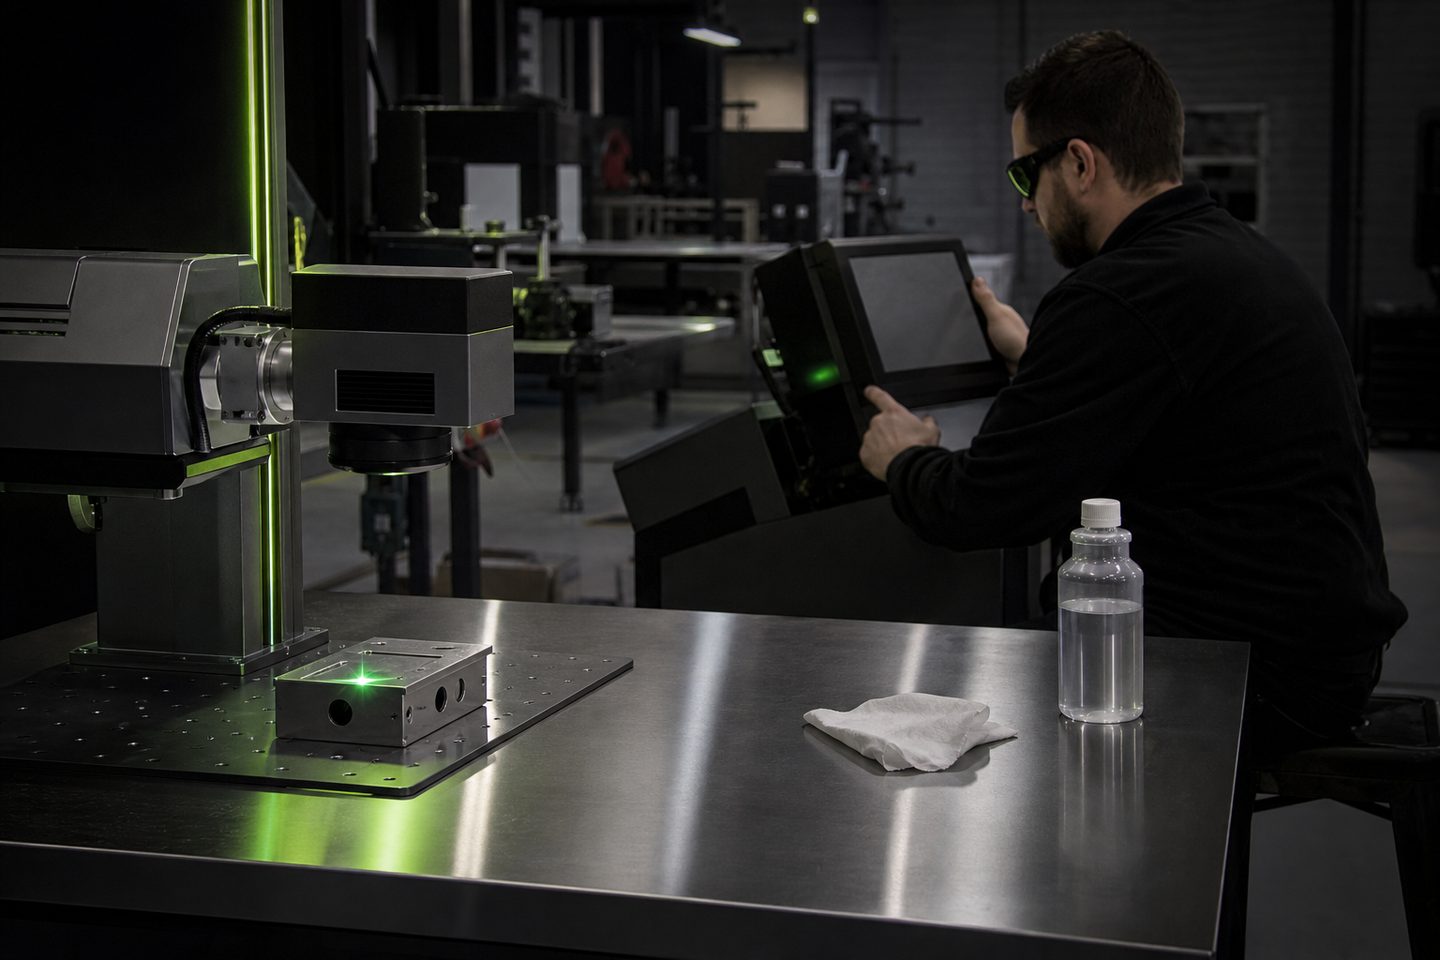
On a South African shop floor, keeping the bench clean for instrument marking often gets overlooked. Between moving sheet, handling oily parts and rushing jobs, it's tempting to mark 'as is'. The problem is: even minor grease, sweat or dust on a surgical tool or gauge can ruin a mark, especially when you need clear, durable IDs for traceability.
We've seen jobs where ungloved hands left fingerprints, or a reused rag spread residues onto tools meant for the medical field. Tiny contaminants can stop a laser anneal or engraving from taking properly. In regulated industries, that means a rejected part or even a recall.
Lessons from hundreds of first articles
After running many first-article reviews in our Sunnyrock cell, we know that mark quality on stainless or titanium depends on more than just the machine settings. The surface must be dry and absolutely clean: even marking through a thin film of solvent can haze the finish or lead to inconsistent contrast.
A new, lint-free wipe and powder-free gloves are standard. We make sure the instrument is at room temperature so that condensation does not build up. When marking with the MicroMark Lab or Mark Pro 30, we always check for residues under sidelight before clamping. If a mark fails, our first question is always: 'Was it handled with fresh gloves and cleaned right before marking?'
A quick story from the bench
We had a run of surgical clamps where the client kept seeing patchy, light marks. The metal looked clean to the eye, but on close inspection with angled light, there were faint streaks from a previous ultrasonic wash. When we switched to a fresh rinse and insisted on gloves for every transfer, the marks became crisp and pass all durability checks.
No change to the laser settings was needed. The fix was simply better preparation and discipline at the marking bench. That job proved to the team that clean habits matter more than chasing another parameter tweak.
Practical steps for clean bench marking
These are the habits we use and recommend to every customer running ID marks for precision, medical or food parts. They save time and prevent expensive rework.
- Wipe each part with a lint-free cloth and approved solvent, then allow to dry fully
- Wear new powder-free gloves for every handling session: no bare hands or 'reusable' gloves
- Check the part under sidelight for any smears, fingerprints or dust before loading
- Keep wipes, solvents and gloves in a sealed container at the marking bench
- Mark at room temperature to avoid condensation or water spots
- Inspect the mark immediately: if it fails, clean and re-mark, do not change settings first
When to ask for help
If you keep seeing light or patchy marks even after cleaning, or if you are unsure about which solvents or wipes are approved for your instruments, send us a message through our contact form. Attach a photo of your setup and give us the details of your process.
Our applications team can help you review your cleaning steps, recommend marking parameters and check your bench layout for possible contamination points. Consistent bench habits make the mark, not only the machine.