Cut
Mining wear parts marking
Mining wear parts in South Africa need deep, permanent laser marks for traceability, rotation records and asset management in tough plant conditions. We cover both on-site jobs and workshop cell work.
Systems
Start with these systems
Portable mark
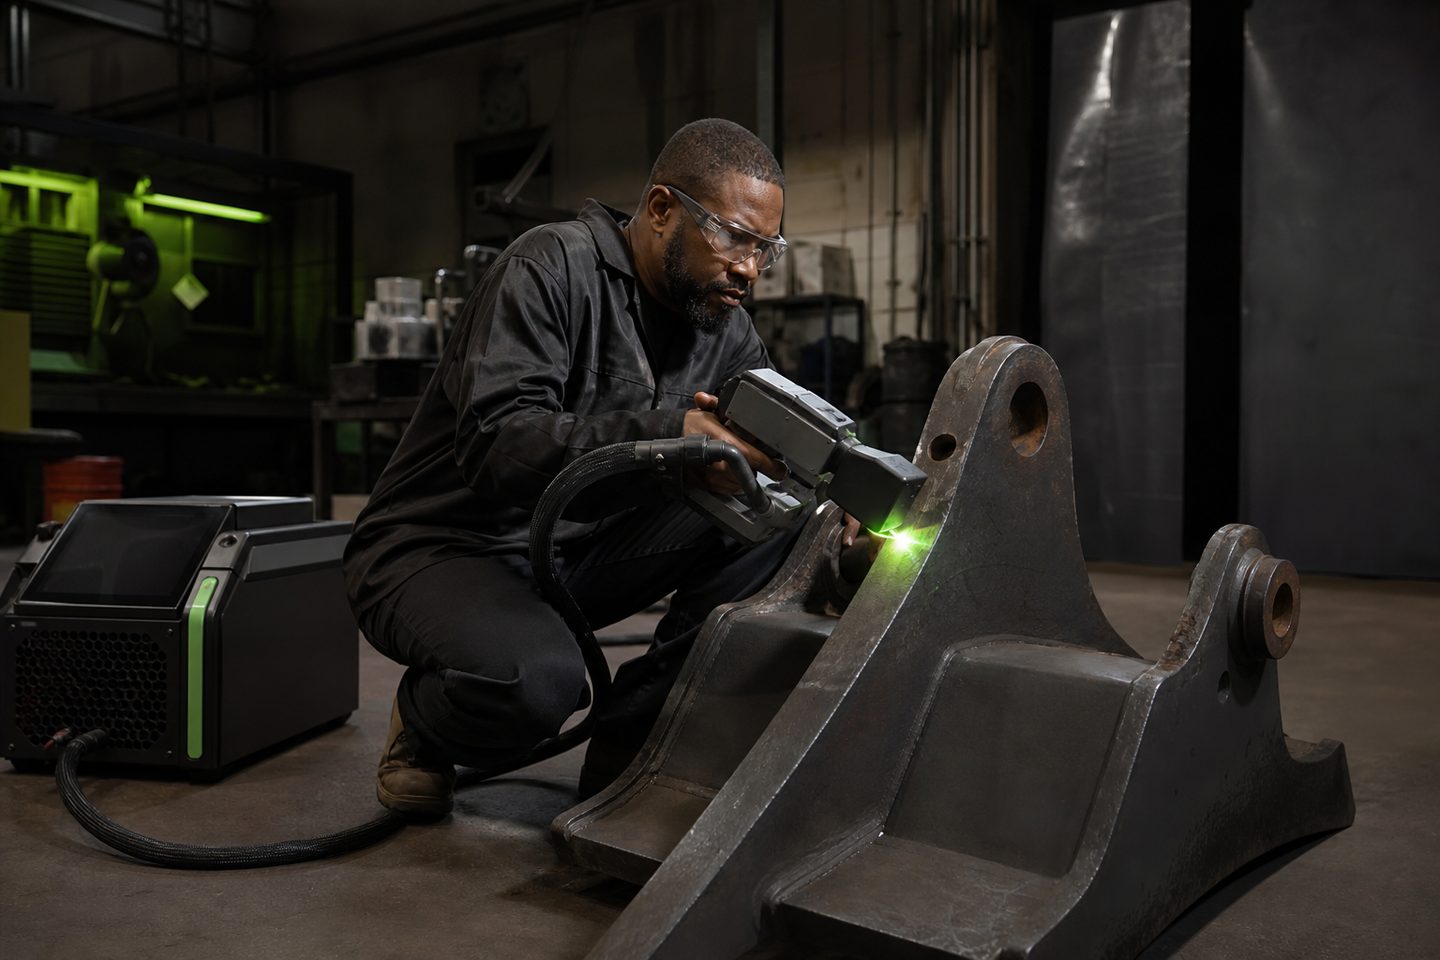
FieldMark Portable
A portable fibre marking kit for on-site serials, asset tags, and plant equipment that cannot visit the cell.
Explore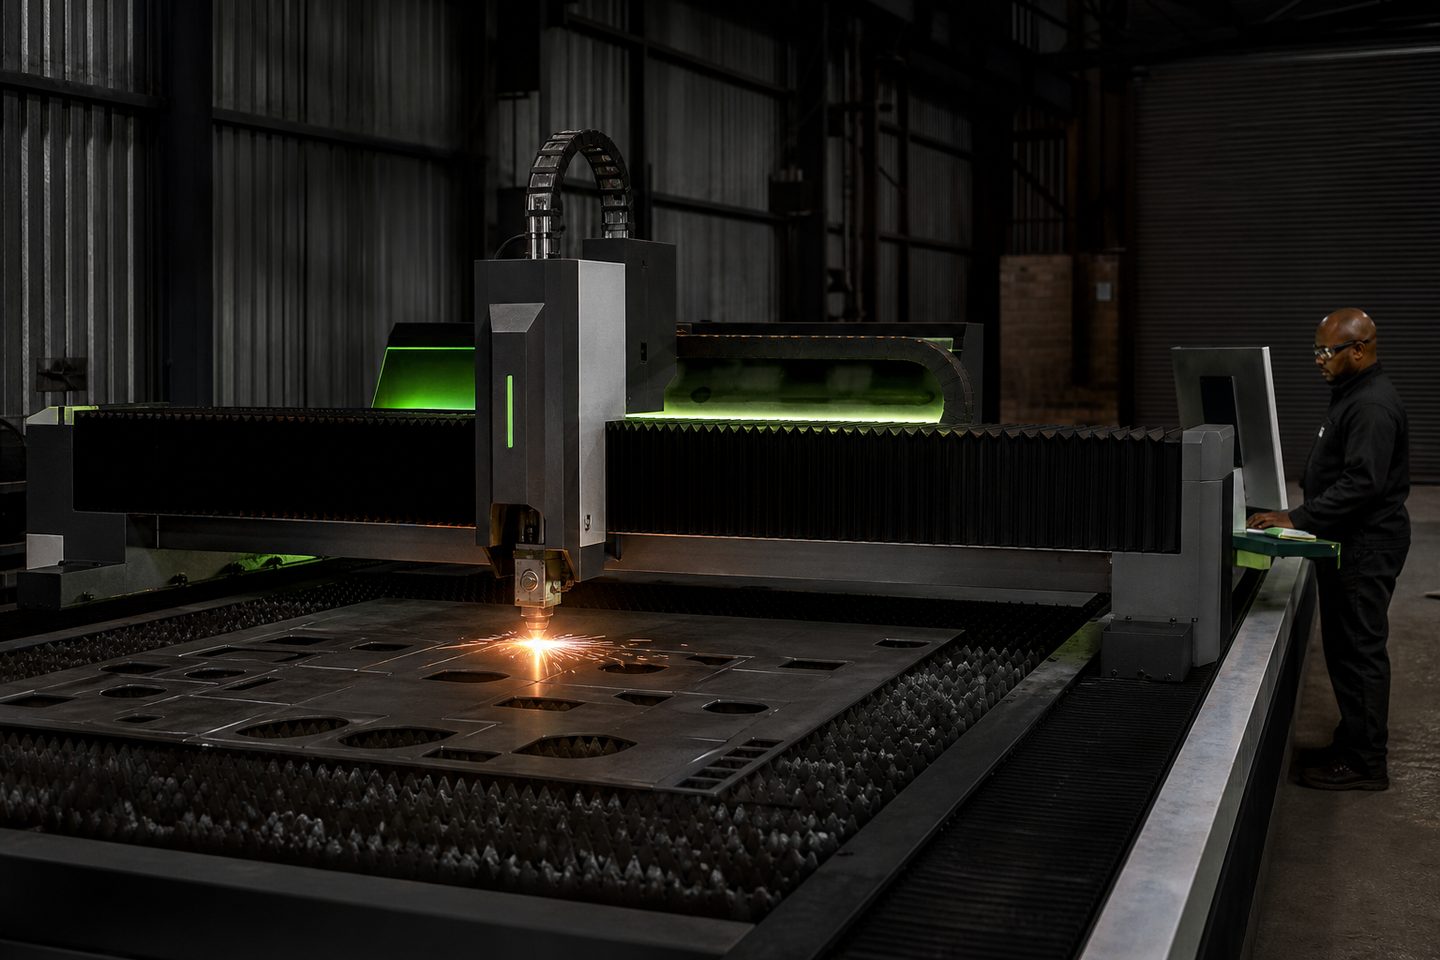
Heavy plate
PlateGate XL
A larger bed fibre cell for thicker plate work, wear parts, and mining-adjacent fab where pierce discipline matters.
Explore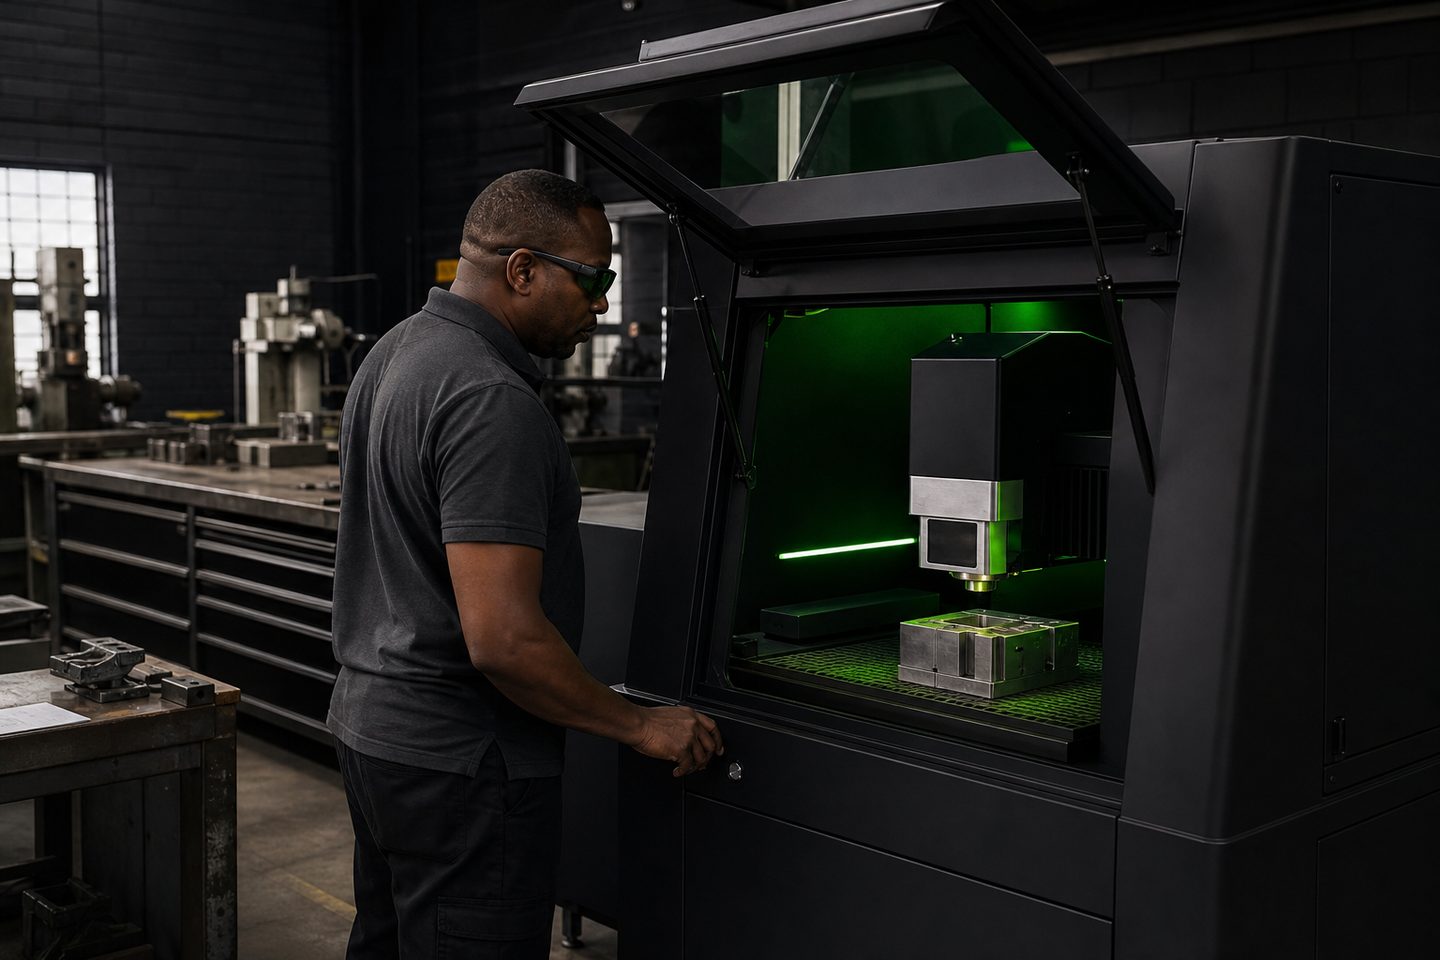
Deep engraving
EngraveFab 50
Higher-energy fibre engraving for deep marks, mould inserts, and tooling IDs that must stay readable after wear.
ExploreWear parts and materials found in mining plants
Typical mining wear parts passing through Rustenburg and Witbank include crusher liners, chutes, screen plates, hammers, dragline components, bushings and ground engaging tools. Most are thick mild steel, through-hardened plate, AR steels or manganese, but stainless is common for corrosion-prone areas and some plants use aluminium or copper alloys for conductive parts.
Parts are often large, awkward shapes and may be heavily coated with mill scale, paint or rust from previous service. Marking must remain readable after months of abrasion, weather and aggressive cleaning.
Fibre laser systems that match mining wear part marking
We recommend three systems for these jobs: FieldMark Portable for on-site marking where parts cannot leave the plant, PlateGate XL for thick, heavy plate and big components in the fab shop, and EngraveFab 50 for deep, wear-resistant engraving on serials or asset codes that must survive repeated handling.
FieldMark Portable is compact and rugged, ideal for mining shutdowns and service bays. PlateGate XL moves and marks heavy plate without shifting the part. EngraveFab 50 goes deeper than other marking cells, making permanent marks that withstand grinding and shot blasting.
- FieldMark Portable: site jobs, heavy equipment, asset tags
- PlateGate XL: in-shop, large or thick parts
- EngraveFab 50: deep engraving for high wear
How a typical mining wear part marking job runs
A mining wear part marking job starts with a drawing or mark brief: serials, codes, logos or asset numbers, with placement and mark depth specified. Prepping the surface is key, as scale or rust will block the laser and make codes unreadable.
The part is positioned in the marking cell or with FieldMark Portable clamped in place. Settings are checked for material and required depth. The mark is made, then verified for contrast, depth and scan readability if using 2D codes. Many clients also log the mark photo for records.
- Review the drawing or mark brief
- Clean and prep the marking area
- Fixture the part or clamp FieldMark Portable
- Check laser settings for material and depth
- Run the mark and inspect the result
- Photograph and log the mark if needed
Common quality problems and how to avoid them
We see marks that fade or vanish after a few weeks, usually where the surface was not properly cleaned or when the mark was too shallow for the service environment. Light marks on scale or paint will not survive in mining.
To prevent these problems: always remove scale, paint and heavy rust from the marking area, use deeper engraving passes for parts facing abrasion, and check mark depth during setup. If in doubt, run a test mark on a spare piece or scrap from the same batch. Use extraction to remove fume, especially on coated surfaces.
What to send us for sample marking tests
For a sample mark, send us a piece of the actual plate, casting or component material. If possible, prep a flat or slightly curved area free of coatings. Include your mark brief: the code or number sequence, size, required depth or visibility (for example, 'deep enough to show after shot blasting'), and any client standards that apply.
You can send a drawing or a clear photo of the part with the marking zone marked up. This helps us set up the job and recommend the right system and settings. Reach us through our contact form to book a test or discuss your application.
What our Fibre Laser customers say
Verified Google reviews