Beam notes
Remnant tags that get used
Remnant tags only help if they stay with the offcut and actually get used. Here is what works for real on South African shop floors.
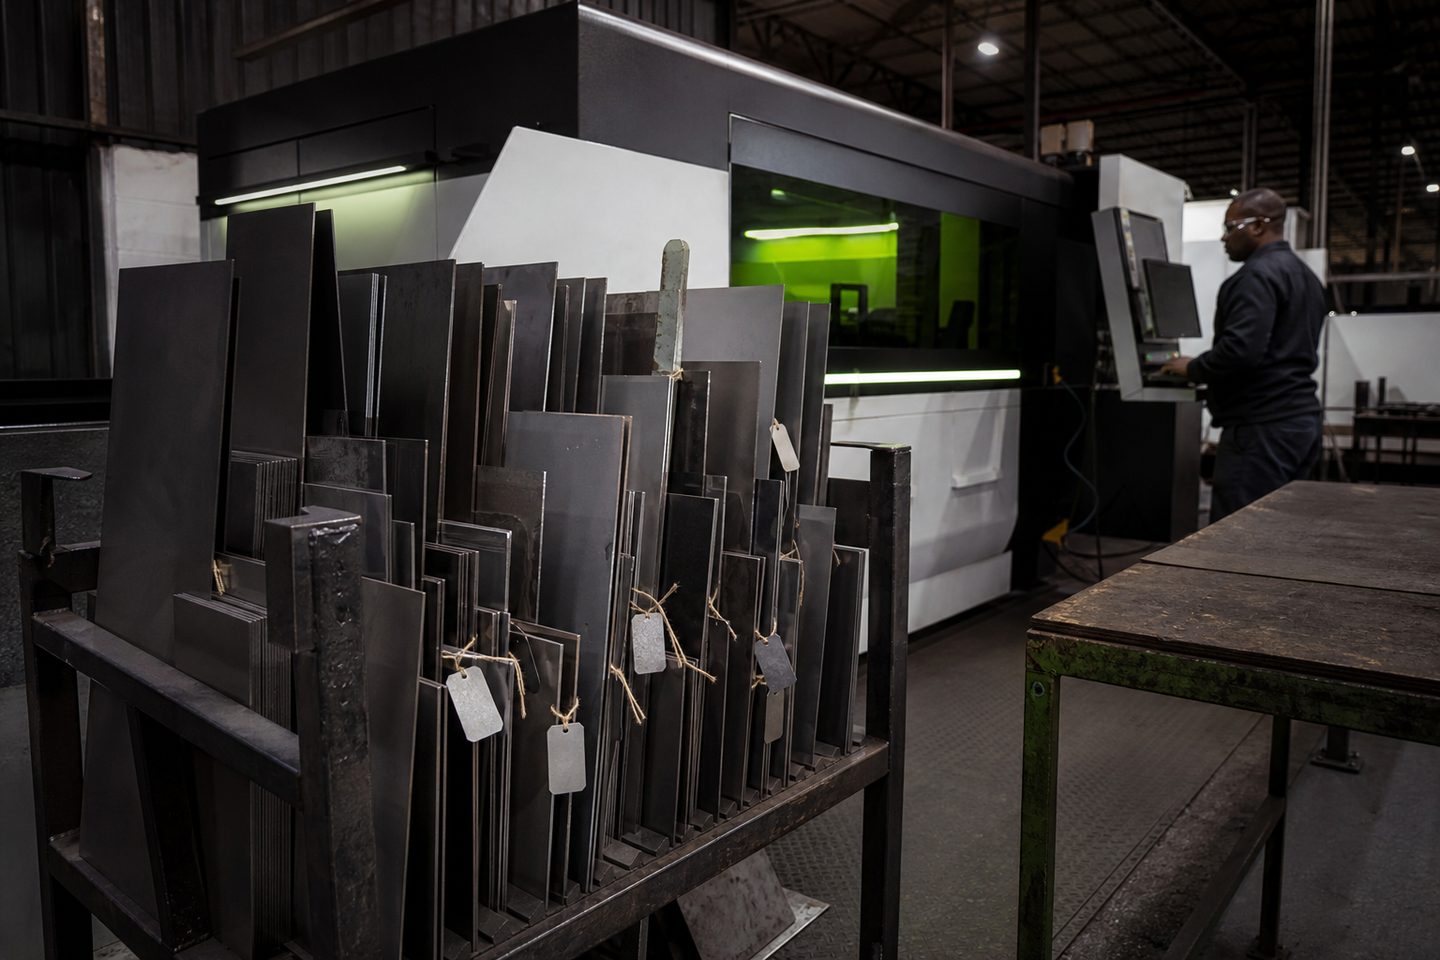
The real problem with remnant tags in production
Most shops cut more than one job per plate or sheet, so offcuts stack up fast. Remnants are valuable if you know what they are, but lose their value if tags go missing, fade, or never get attached. We see this daily: a neat rack at the start of the month, a jumble of mystery pieces by the third job run.
It is easy to let tagging slide during a busy shift. Operators finish a cut, shift the offcut, and intend to mark it later. By the next day, nobody remembers if that remnant is 304 or 316, or if it is safe for food or mining. Unmarked remnants get scrapped or, worse, cut for the wrong job.
What we have learned that actually works
Tagging systems only work if they fit your workflow and survive your shop conditions. Waterproof marker fades quickly if coolant splashes the tag, and a tag that needs a PC to print never makes it onto remnants when there is a power cut. The tag must go on while the remnant is still in the operator’s hand.
The best tags are laser-marked or engraved during the cut, or a simple printed card in a plastic sleeve tied through a slot. We have found that pairing the tag with a SheetNest Pro brief, showing the job number and material, helps link the remnant to the next nest or repair job.
A real story from a busy Highveld workshop
On a recent CutLine 1500 site, the client ran three types of stainless in parallel. Early on, remnants just got scribbled with a marker, but coolant wiped half the info off. After one batch of 304 ended up in a part that had to be 316, they switched to laser engraving short job codes directly on the edge during the last cut pass. Remnants were instantly easier to track.
Within a few days, the operator kept a stack of plastic cable ties and printed sheets at the controller, so every offcut got tagged before it left the bed. Scrap rates dropped, and the team could trace every piece by job and grade.
Practical steps for remnant tagging that gets used
Here is what keeps remnant tags in play, not on the floor or lost by Thursday. The process should not depend on remembering details or on a single person.
The most reliable method is one that fits your team, the material, and what else is happening on the shop floor that day.
- Engrave job and material codes on the edge during the last cut pass
- Keep printed tag blanks and plastic sleeves or cable ties at the machine
- Fill in tags before moving the offcut off the bed
- Store remnants in a dedicated, labelled rack by material
- Link each remnant to its nest brief (especially if using SheetNest Pro)
When you should contact us for help
If your shop is losing track of remnants, or if you need help on tagging that stands up to coolant, dust, and handling, send us a message using our contact form. Tell us your city, what you are cutting, and your current tagging setup.
We can review your process, suggest engrave settings for clean, quick marks on stainless, aluminium or other metals, or help pair your CutLine or PlateGate XL with an easier nest tracking method. Our applications team at Sunnyrock can run a first-article review if you book ahead.