Beam notes
Duct nests that fold true
Getting HVAC duct nests to fold precisely and seal tight starts at the laser and ends on the press brake. Small details in the cut make the difference on your shop floor.
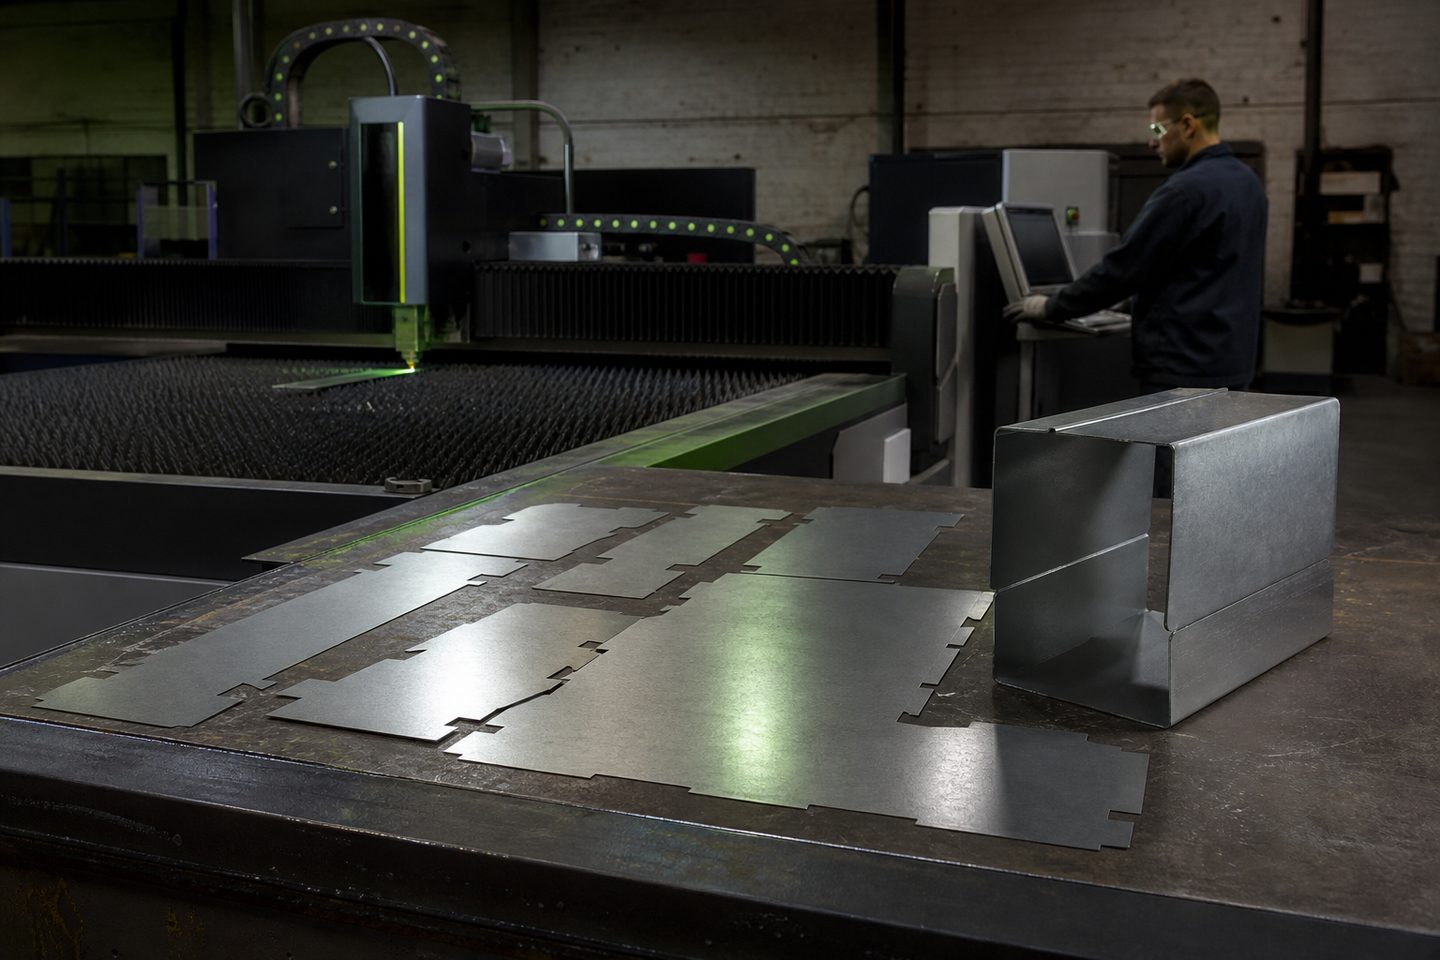
What can go wrong with duct nests in practice
On a real South African shop floor, HVAC duct work often means cutting nested blanks with folds, flanges or tabs for quick assembly. If the nest or cut is off by even half a millimetre, ducts refuse to fold clean or leave gaps that leak. You end up wasting time hammering flanges flat or re-cutting parts, and the finish suffers.
We see this problem most often when the nest or folding cues do not match the actual press brake setup, or when the kerf, grain direction or springback are ignored in planning. If the part shape or cues are wrong, the installer blames the laser, but the fix is usually in the nest setup and prep.
Lessons from the field on settings and prep
Setting up for repeatable folding starts at the nesting stage. For HVAC, SheetNest Pro can apply tab, notch and fold cut cues in the nest, but the sheet and gas choice matter too. Mild steel and galvanised react differently to heat and springback. Use oxygen for mild steel and air or nitrogen for galvanised, but be ready to clean the oxide on mild steel edges before painting or sealing.
Optics take a beating in sheet metal work, especially with zinc fume from galvanised. Clean your protective window daily. If you see smoky or rough edges, check for a dirty lens or nozzle. For tricky bends or tight radii, test a sample first and record the brake settings with the same batch and grain direction.
A real example from a Highveld job
We had a customer near Joburg cutting rectangular duct blanks with corner notches for Pittsburgh seams. Their first nests folded out of square, and the corners were tight on one end but loose on the other. The issue traced back to mixed grain direction and the notch size not matching the actual press brake vee size.
Once they set the SheetNest Pro nest brief to lock all parts to the same grain and checked the notch width with a test bend, their duct corners started to fold true. The installer was able to seal joints with one pass, and assembly time dropped noticeably.
Practical steps to fold accurately after fibre cutting
Getting a true fold and seal from laser-cut duct parts is all about planning and checks before the job runs. Here are steps that have worked in dozens of shops:
- Nest parts with folding cues and tabs set for your brake and lock grain direction
- Check kerf compensation in your nest brief before cutting
- Use the correct assist gas for the material and clean edges after cutting, especially on mild steel
- Test a sample bend from the same batch and record your brake settings
- Inspect the protective window and nozzle daily for fume buildup
- Mark first-articles and check the fit before running the full job
When to ask for help from our team
If your duct blanks don’t fold up clean, or you’re losing time on edge cleanup and refits, send us a message through our contact form. Give us the city, duct type, and a photo of your problem part or a sample nest brief.
If you’re moving to larger or new material grades, or if the edge looks burnt or rough after the cut, we can walk you through tweaks in SheetNest Pro, gas swaps, or checks on your CutLine system. Book a first-article review at Sunnyrock if you want hands-on help.