Beam notes
Deep marks that stay readable
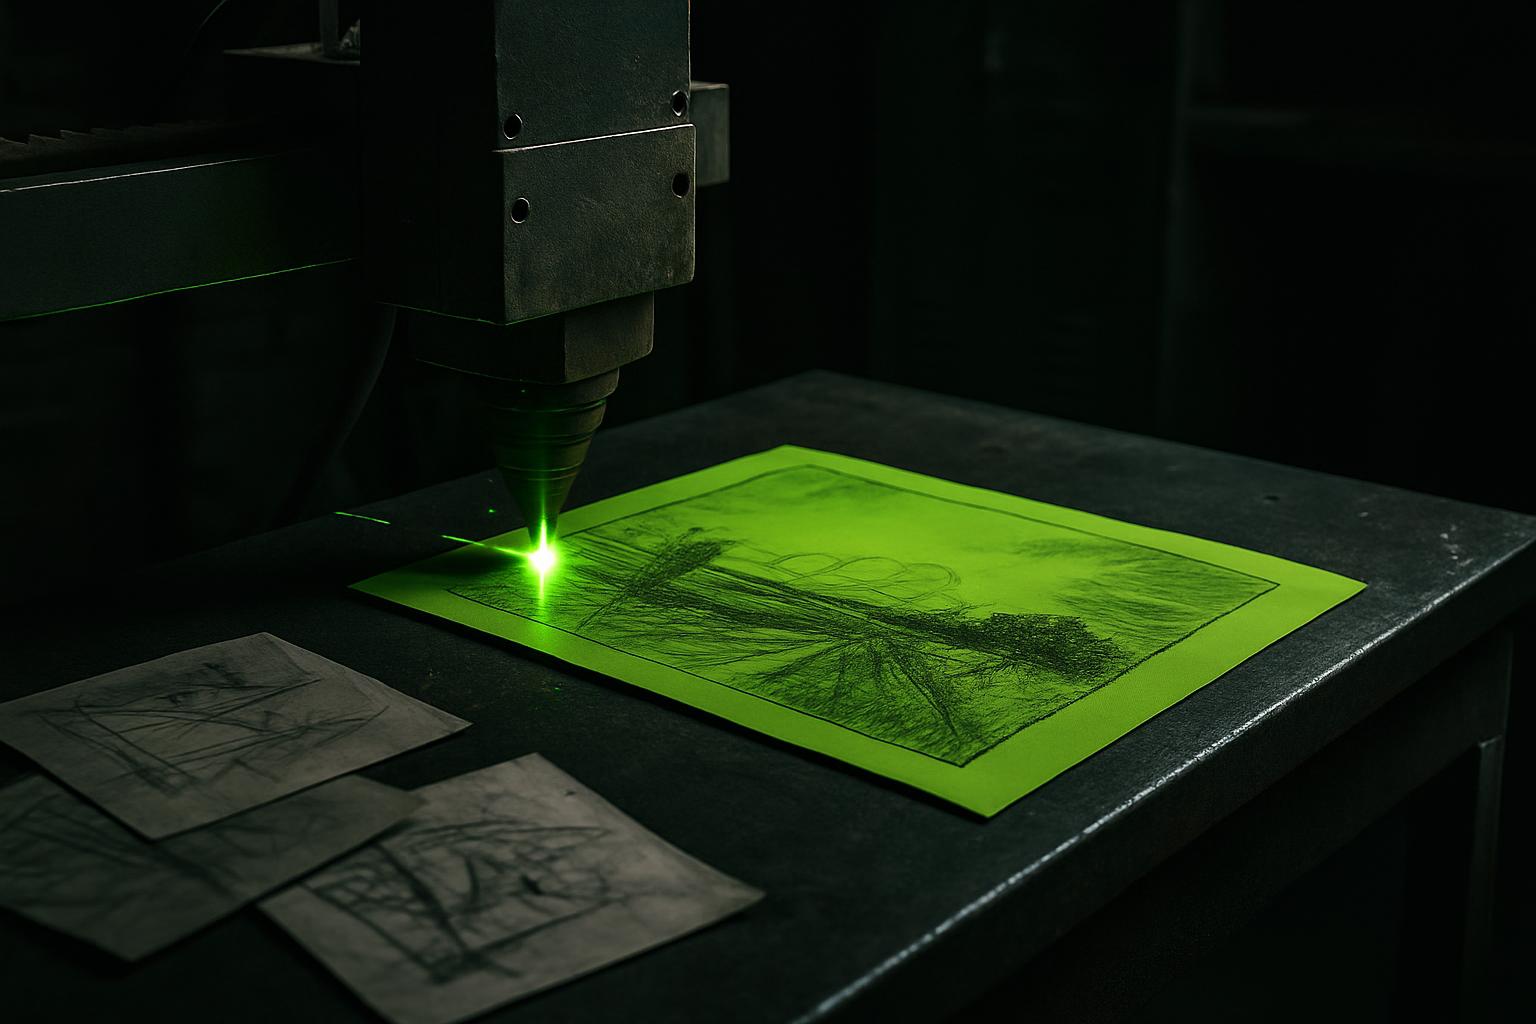
Deep engraving is how we keep die marks legible through years of use, grime and handling. It’s about getting real contrast and depth that stands up to life in a rack.
Why deep marks matter on workshop dies
In South African toolrooms and fab shops, dies and jigs often move between racks, benches and presses for years. Paint wears off, stickers peel and surface marks fade. When a part number or orientation arrow disappears, the risk goes up for mix-ups, wasted time or even scrap.
A deep, wear-resistant mark can be the difference between a tool that stays in use and one that gets set aside or rebuilt. On steel and tool alloys, shallow marks from basic markers or hand stamps soon vanish under grime, grease or regrinding. Our EngraveFab 50 is built for these jobs.
What works best from the marking bench
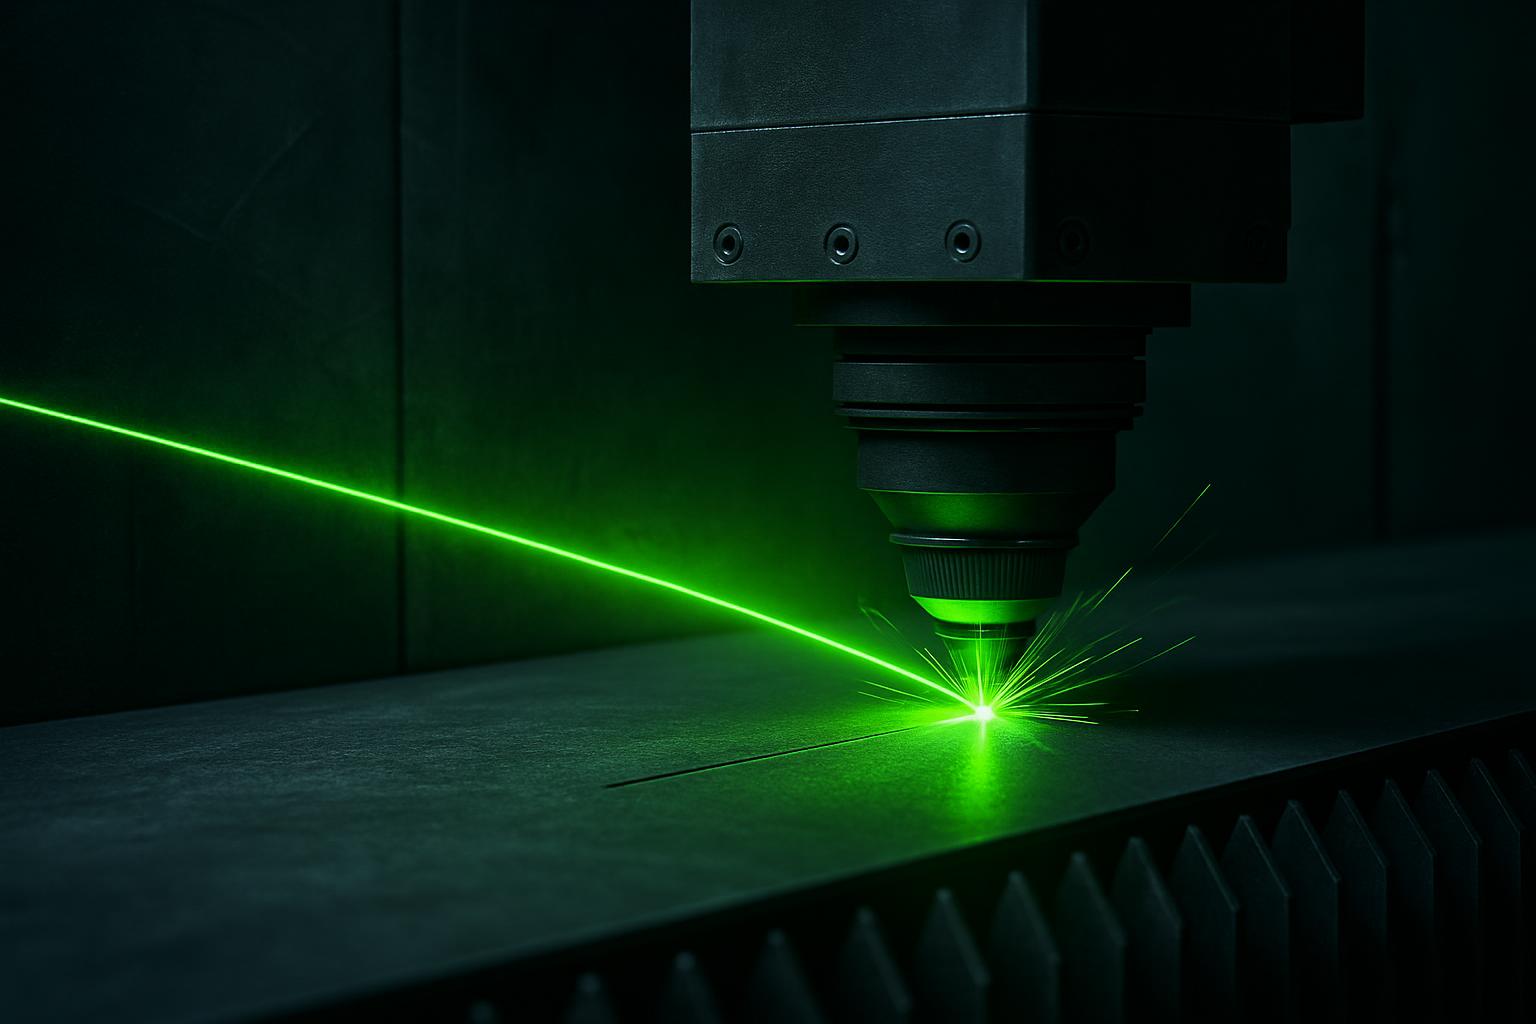
For deep engraving, we focus on clean, consistent power delivery. On the EngraveFab 50, we use a higher pulse energy and slower marking speed than we would for a simple surface mark. This lets the beam cut a real groove, not only change the colour or leave a shadow.
Fixtures matter. A die must be firmly clamped so it stays flat and the focal distance holds steady. Any tilt or movement softens the mark. We always check that the lens is spotless and the protective window (the cover slide under the head) is clear, a speck of dust here can scatter the beam and leave you with a blurry or uneven letter.
Nitrogen as a shielding gas helps keep the groove clean on stainless or high-alloy dies, but even a basic shop extractor is important to pull away fume and fine dust. That keeps both the machine and the operator safe.
A quick story from a local fab shop
A Gauteng customer brought in press brake dies that had been marked with a hand engraver. Half the numbers were lost to rust and oil, the shop had started scribing temporary IDs with a grinder.
We ran a test on their steel blanks using EngraveFab 50, going for a deeper pass and using proper clamping. The result: sharp, deep marks that were still crisp after a round in the parts washer. The shop switched all their tool marking over to our laser cell that week.
Practical habits for deep, lasting marks
Every operator in our training gets these steps. They make the job faster and keep your marks readable for years.
The more consistent your setup, the less you’ll curse a missing number later on.
- Clamp dies so their marking face is truly flat under the head
- Check and clean the lens and protective window before each batch
- Use the deepest pass your material and job will allow, test on an offcut first
- Run multiple passes instead of pushing a single one too hard
- Extract fumes and fine dust right at the source
- Record your best settings for each die material and type
When to ask for help with marking jobs
If your marks are fading, uneven or the laser is leaving a smeared or burnt look, it’s time to get in touch. The cause could be settings, optics or the wrong fixture for the part shape.
Use our contact form to send the details through. Attach a photo of your best and worst marks, and tell us what machine and settings you’re using. We’ll help you fix it or set up a test at Sunnyrock HQ or your nearest showroom bay.