Beam notes
Bevel cues welders trust
Good bevel notes save time at the bench and keep welders from guessing. Setting up for strong, clean welds starts with the right cut and clear cues.
Why bevel notes matter in real workshops
On a typical South African shop floor, the difference between a solid weld and a headache often comes down to the edge prep. Welders rely on clear bevel notes to avoid grinding mistakes, rework, or undercut edges that slow down production. Too many times I've seen a fab lead hand over a part with only rough chalk marks and a quick word, then the team loses time double-checking or fixing gaps.
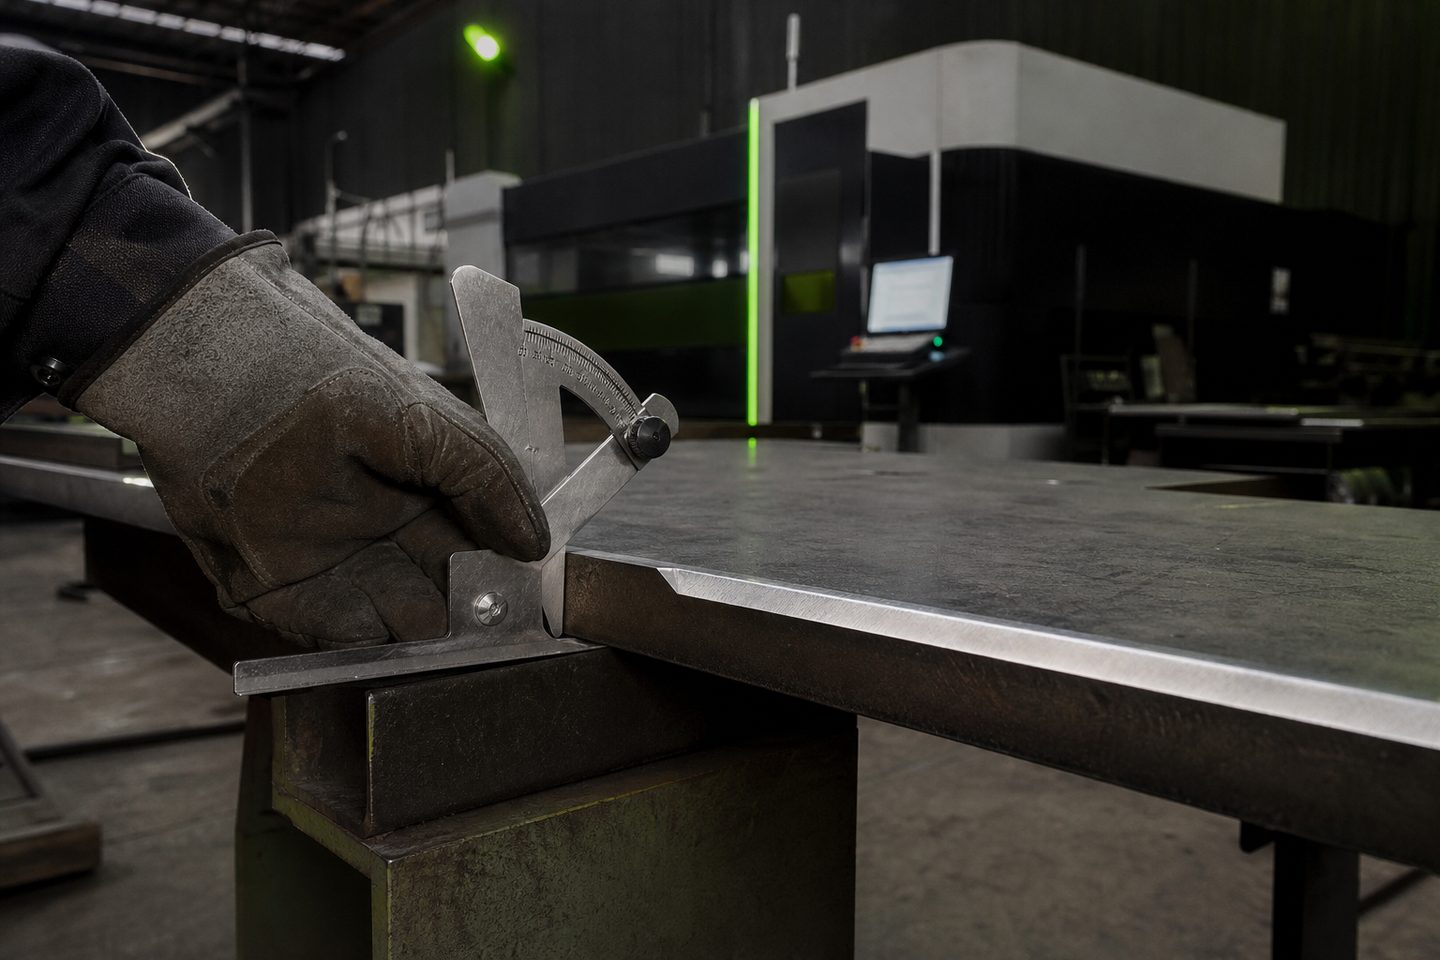
The right bevel cue is more than an angle sketched on a corner. It’s the hard-earned detail on which face to prep, where to stop, and what finish is good enough for the joint and coating. If the notes vanish with the supervisor, the cues must still be on the bench, not in someone's head.
Lessons we have learned from edge prep jobs
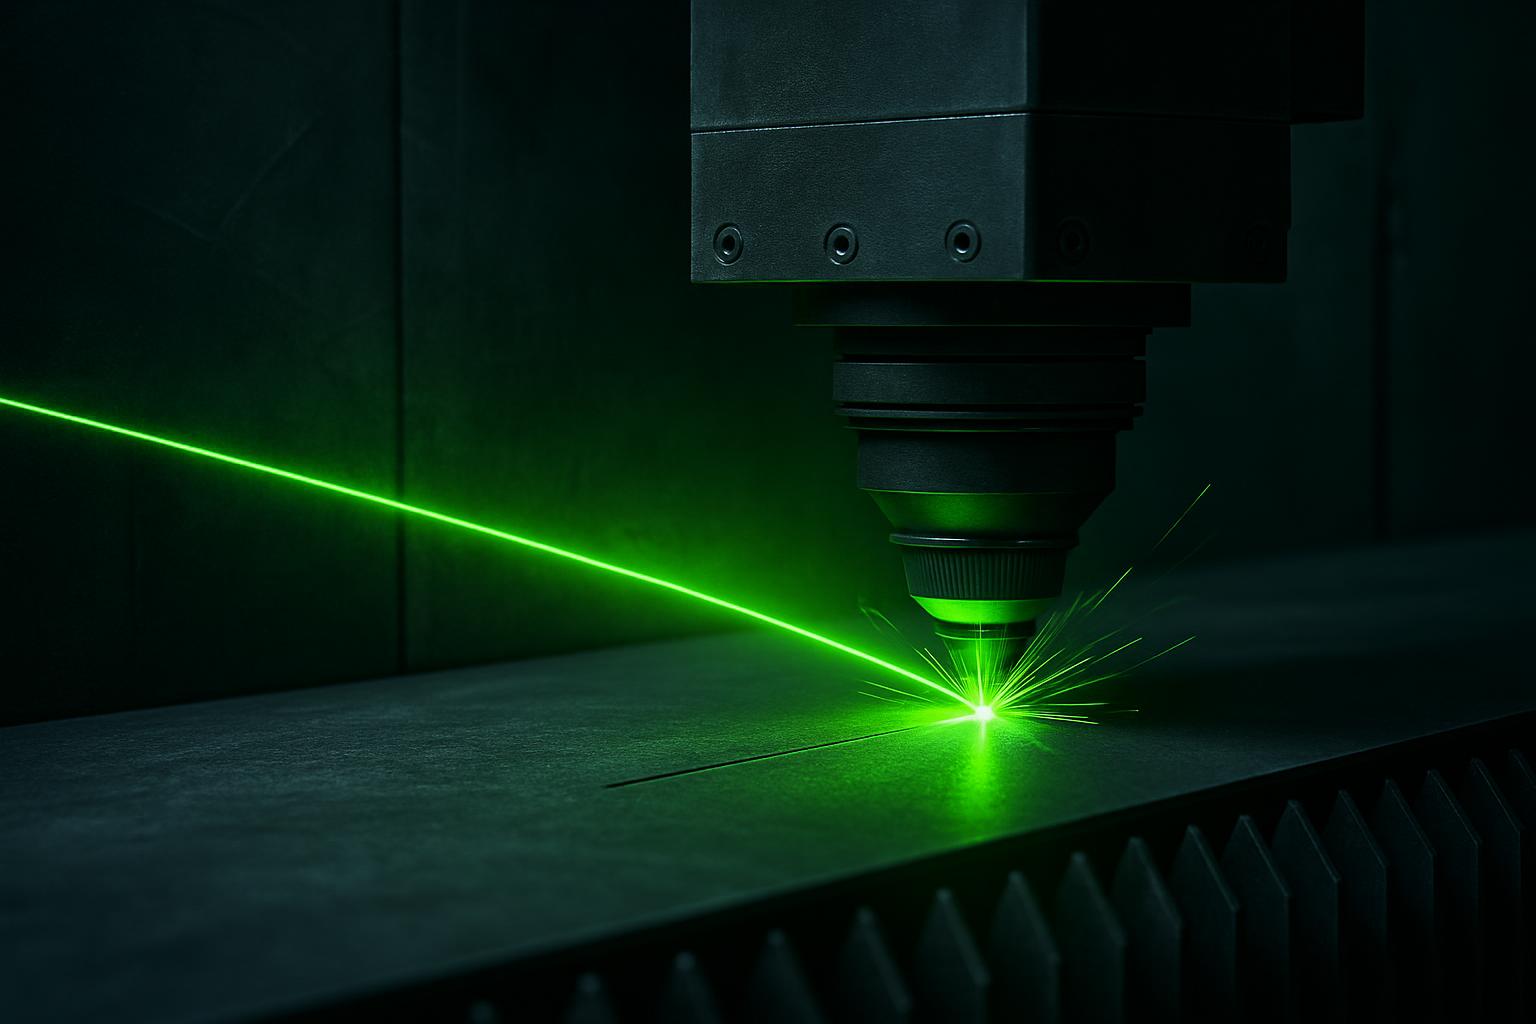
We have seen that generic cutting settings rarely give repeatable bevel quality. The WeldPrep Beam uses a set of logic for each type of edge: for typical V-preps, we control not only angle but kerf width and root face, depending on plate thickness and weld type. The angle must match the WPS, and the toolpath should take grain direction and distortion into account, especially on stainless and wear plate.
Gas choice makes a big difference. Oxygen is fine for mild steel, but leaves a hard oxide layer that can trap under welds if not cleaned off. Nitrogen cuts cleaner on stainless, and air may suit thin plate if you accept some dross cleanup. Clean optics are non-negotiable: a dirty protective window throws the beam out and gives you rough or inconsistent bevels. Dont skip the lens check before starting a batch.
A job story from a Highveld maintenance line
One of our regulars near Boksburg had a mining chute job with long plate sections, all needing 45 degree preps for a fit-up against thick wear liner. Their old process was hand-grinding after plasma cutting, which left uneven edges and wasted an hour per piece on touch-up.
We showed them how to set up the WeldPrep Beam for a single-pass bevel, locked the settings, and left simple notes at each workbench: which side to prep, which consumable to use, and a photo of the correct finish. By the second shift the welders just followed the notes and the fit-ups came right the first time.
Steps for writing bevel notes welders keep
If you want bevel cues your welders will trust, keep them easy to use and right at hand. Here’s what works for us and our customers.
- State the bevel type (V, K, J, etc) and angle clearly
- Mark the reference face and show which edge to prep
- List material grade and thickness for each part
- Specify the gas to use and any required surface clean-up
- Add a sketch or photo of the right finish
- Print and tape the note at the welding bench, not only on the drawing
When to ask us for help with bevel or edge prep
If your welders are still reaching for the grinder after the laser cut, or joints aren’t fitting up as planned, it’s time to check the edge prep settings and your notes. We help teams set up repeatable bevels for every thickness and edge type, and can review your first batch at Sunnyrock or on site.
If you see burnt edges, too much dross, or don’t know which gas to use, send us a message through our contact form. You can also attach a photo of the edge or mark-up, and one of us will talk you through a practical fix that suits your line and skills.