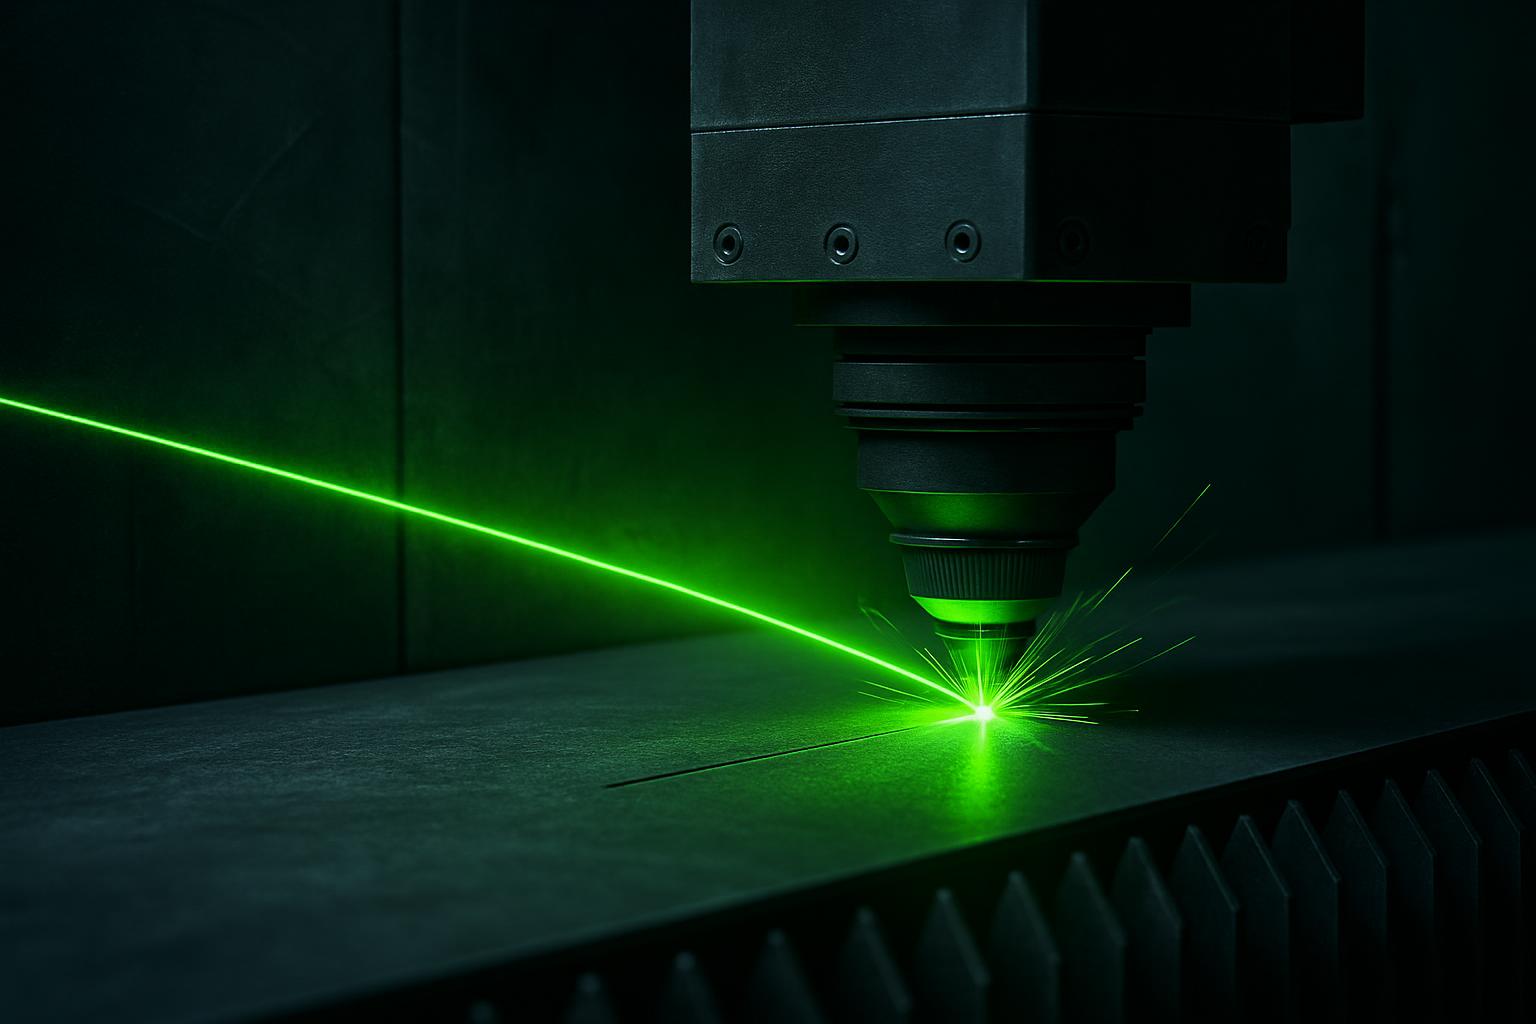
TubeCut R8 fixtures
TubeCut R8 depends on reliable fixturing for consistent tube cutting. The right fixture choice protects accuracy, safety, and finished part quality.
Browse materials, jaws, straps, and rotary kits.
- Flat fixture cues
- Rotary / clamp limits
- First-article photo notes
Also see beam notes and projects.
Why fixturing affects cut quality and repeatability
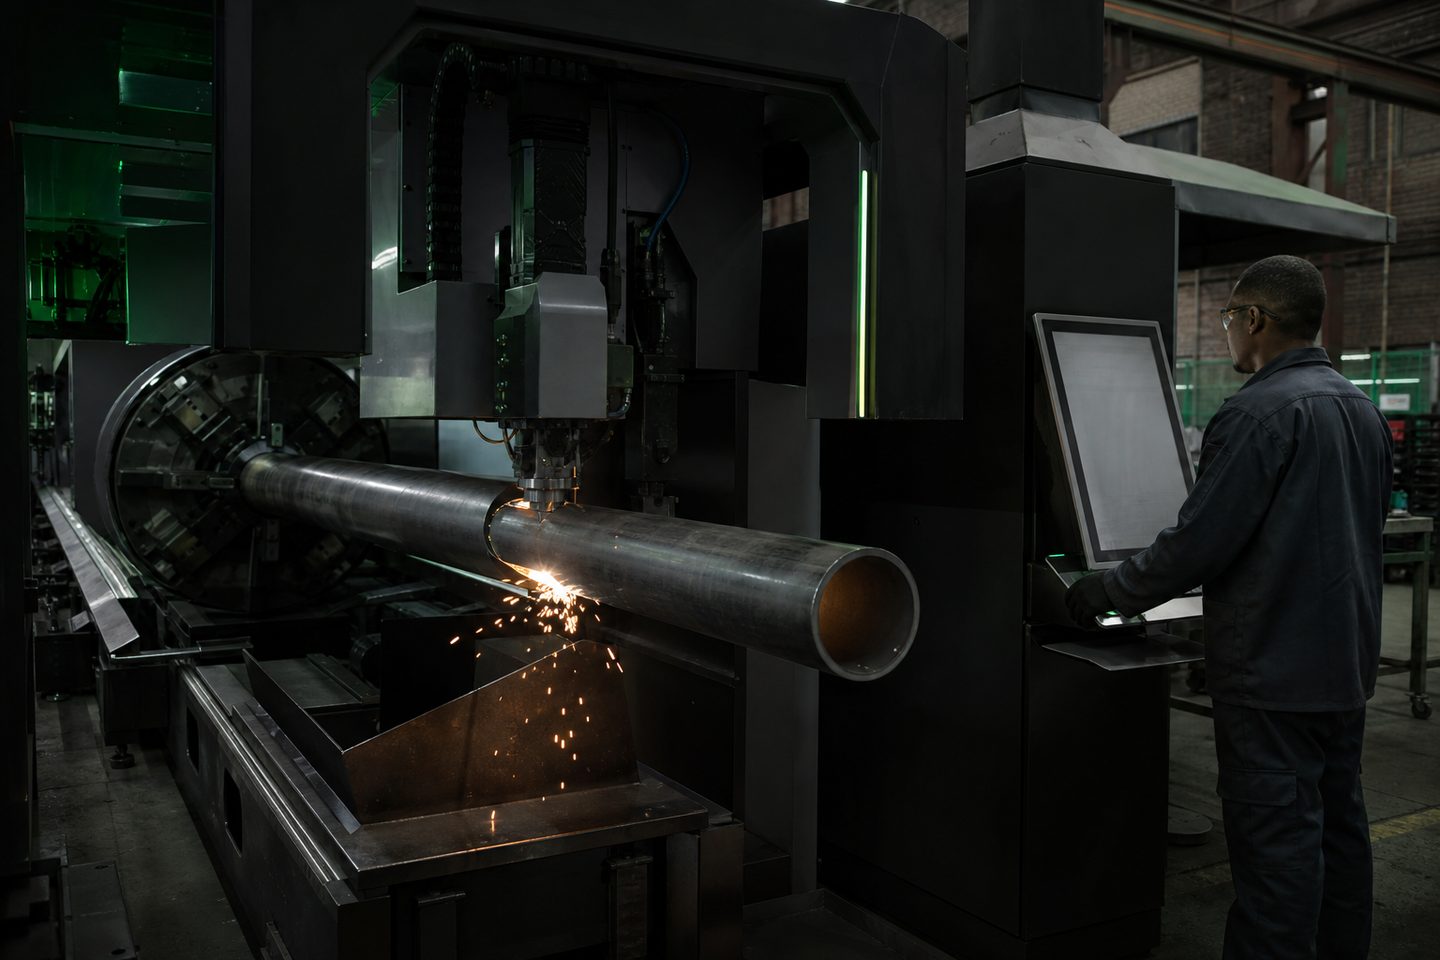
Fixturing on the TubeCut R8 is more than simply holding a tube in place. The way you secure square, round or oval stock directly affects cut accuracy, edge quality and exactly where the cut or marking lands. Movement or vibration during cutting can ruin alignment and leave you with scrap or a poor finish.
Repeatable clamping is the difference between a clean run of identical parts and a batch where each piece is slightly off. Fixturing also keeps operators safe, especially with rotary tube cutting, where the laser and moving workpiece demand stable, controlled movement.
Fixture types that suit TubeCut R8
TubeCut R8 is built for rotary and fixed workholding. The everyday choices are rotary chucks for round and square tube, adjustable vee-blocks for odd profiles, and dedicated nest plates for production runs. Quick-set clamp jaws allow for rapid tube changes when you’re working through a mixed batch. For lighter or thin-walled tube, add padded straps to avoid crushing and surface marks.
Modular jigs make repeat setups much quicker, especially when moving between tube sizes or switching from pipe to RHS. On the R8, ensure rotary kits are free of dust and metal chips before mounting, a dirty fixture can jam or throw the workpiece out of true.
- Rotary chucks for round, square and RHS
- Vee-blocks for custom sections
- Quick-set clamp jaws
- Padded straps for thin or polished tube
- Nest plates for repeated jobs
- Modular jigs for fast changeover
First article fixture setup and checking
Before running the first article on TubeCut R8, always set up and check your fixture methodically. This avoids scrap and highlights any workholding risks early. A solid fixture setup is essential for safe, repeatable jobs.
- Clean the fixture and remove all metal chips and dust
- Check the rotary or clamps for free movement and full closure
- Align the tube parallel to the cutting axis, not only the jaws
- Test clamp force: secure without deforming or crushing
- Run a dry cycle to check for clearance and steady rotation
- Mark and log the setup for repeat runs or later adjustments
Common fixture mistakes and how to prevent them
The most frequent mistake is over-tightening clamps, which can deform thin tube and throw out your focus height or rotation. Under-tightening is just as risky, causing the tube to slip mid-cut and wrecking both the part and the fixture.
Another problem is inconsistent tube seating: if the tube is not fully seated in the fixture every time, the cut will shift and you’ll lose repeatability. Dirty, rusted or oily tube surfaces increase the risk of slippage and must be cleaned before loading. Always inspect for tool marks or clamp damage after the first article, not only at the end of the run.
- Never clamp directly on weld seams or sharp corners
- Use soft pads or straps on polished or thin-walled tubes
- Double-check tube seating before every run
- Clean fixtures and tube surfaces before setup
- Check for clamp wear or damage regularly
What our Fibre Laser customers say
Verified Google reviews