Beam notes
Edge prep before weld day
A clean, consistent weld starts at the edge. Laser bevels save time and give welders a fair shot at full strength from the first pass.
Edge prep problems hit before weld day
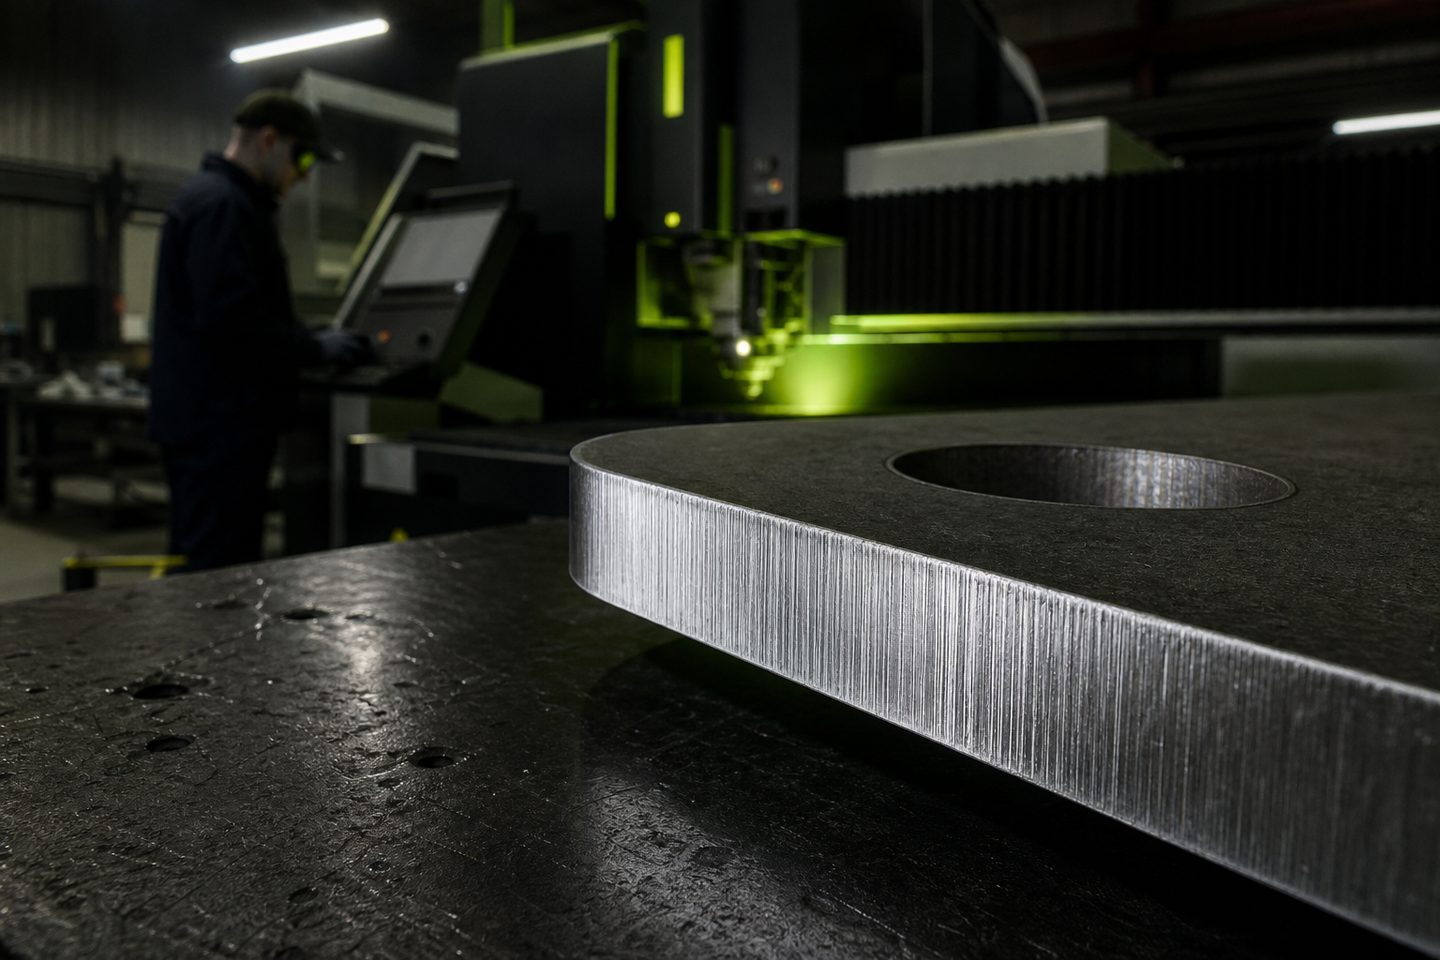
Most South African fab shops still push too much grinding onto welders. It eats into time, wears out discs and sometimes leaves heat-affected zones that cause more trouble later. A rough plasma or oxy cut edge can mean up to half an hour per plate, just to get a proper bevel and clean metal.
This gets worse when production is tight or the job is a mix of new and repaired parts. Missing the right bevel angle or leaving scale on edges can cause incomplete welds, especially on thicker plate or wear parts. Welders end up reworking joins that should have been right first time.
What we have learned cutting bevels
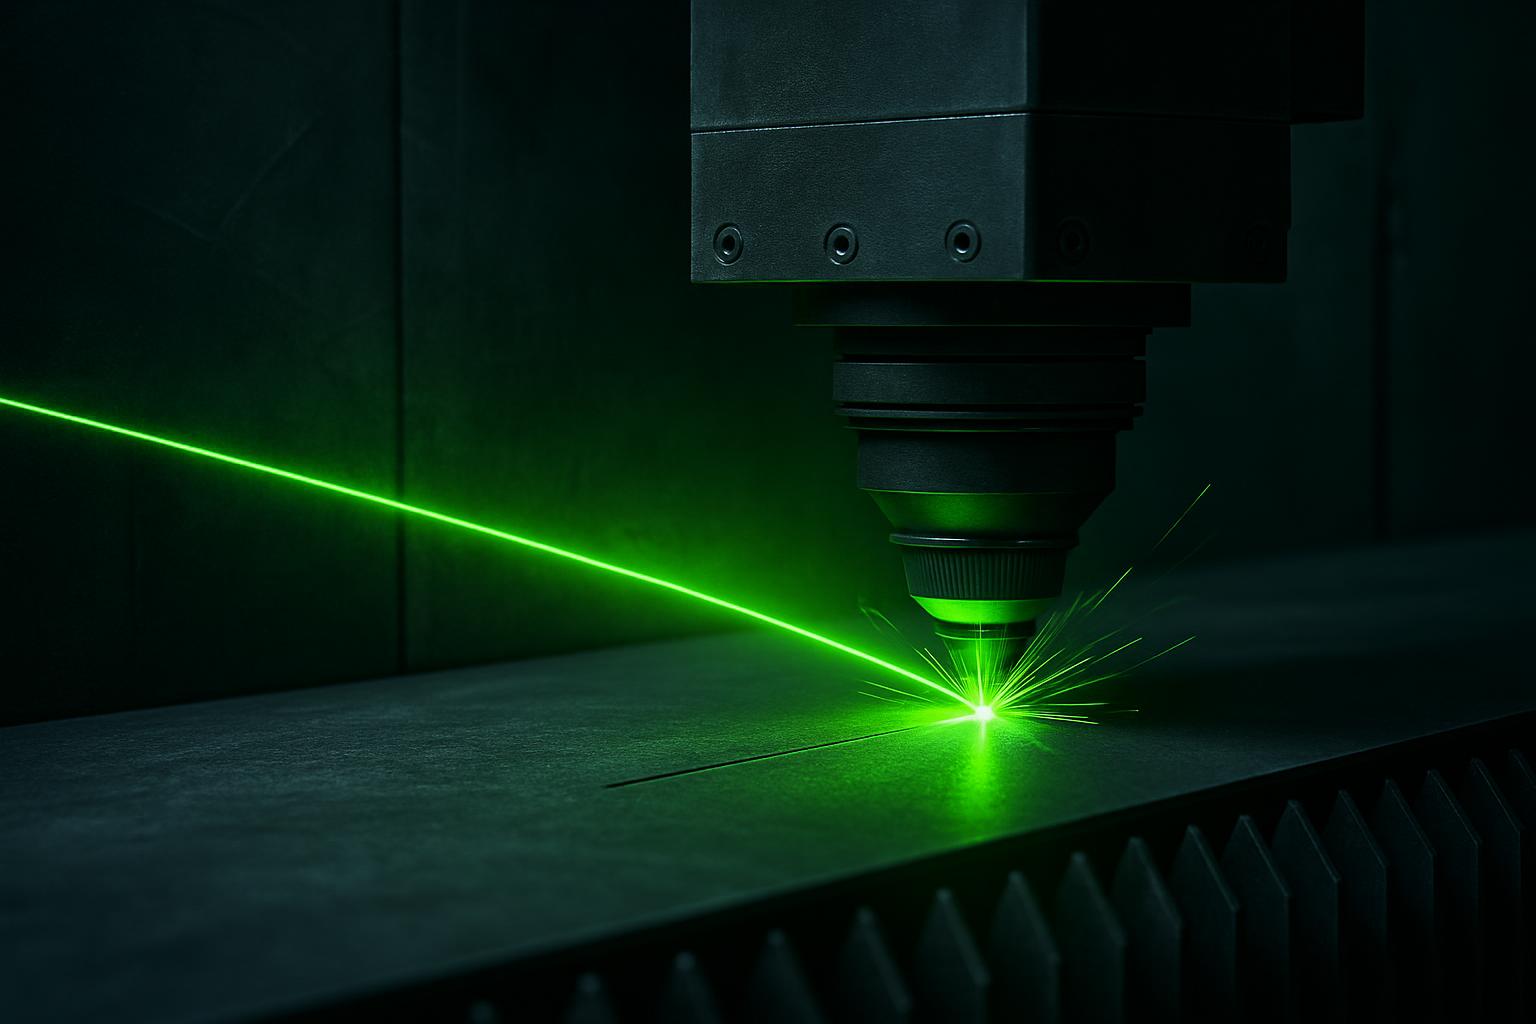
With a system like our WeldPrep Beam, you can set up consistent bevels by controlling the torch angle, cut speed and assist gas. We have learnt that the best results come from matching the gas and speed to the steel grade and thickness: oxygen for mild steel, but only if you plan to clean the oxide off before finishing. Nitrogen gives a bright, scale-free edge on stainless, but you need to watch your flow rate.
Fixtures make a difference when cutting multiple plates. A laser-cut jig or clamp holds parts steady and makes sure the bevel runs true without chatter or wandering. Its easy to forget a quick check of the protective window under the head, but a dirty window can cause rough edges and ghost lines that slow down the welder later. That’s a small thing, but it shows in every joint.
A lesson from a mining repair job
On a recent site call, we worked with a Highveld workshop prepping chute liners. Their old process was gas-cutting, then grinding, sometimes up to 45 minutes per plate. When they switched to laser edge prep, using the correct gas and a fixture to hold the plates, each bevel was ready for welding straight off the bed.
One slip: the team forgot to clean the oxide layer off a batch of mild steel plates before painting. The powder coat started peeling after a week on site. It cost them a rework, but they now always clean edges before coating. A small miss on prep cost more than the time they saved up front.
Steps for good laser edge prep every time
Here’s a checklist we use before every weld prep run. Following these steps keeps the bevels clean, accurate and ready for welding:
- Choose the right gas for the material: oxygen for mild steel, nitrogen or air for stainless and aluminium
- Fit a clean protective window and check it daily for dust or splatter
- Set bevel angle and torch height in the controller; run a test pass on scrap
- Use jigs or clamps to steady plates during cutting
- Inspect cut edges for dross, oxide and straightness before moving to weld
When to ask us for help with your edge prep
If your welders are still spending more time grinding than joining, or if your painted parts keep failing adhesion tests, it’s worth a review of your prep. Sometimes it’s a small setting or a fixture tweak that makes all the difference.
Tell us your city, your machine name and how your current edge looks, using our contact form. We can book a demo or a first-article review at Sunnyrock or one of our regional bays to help you dial in your process.