Beam notes
Contrast under a loupe
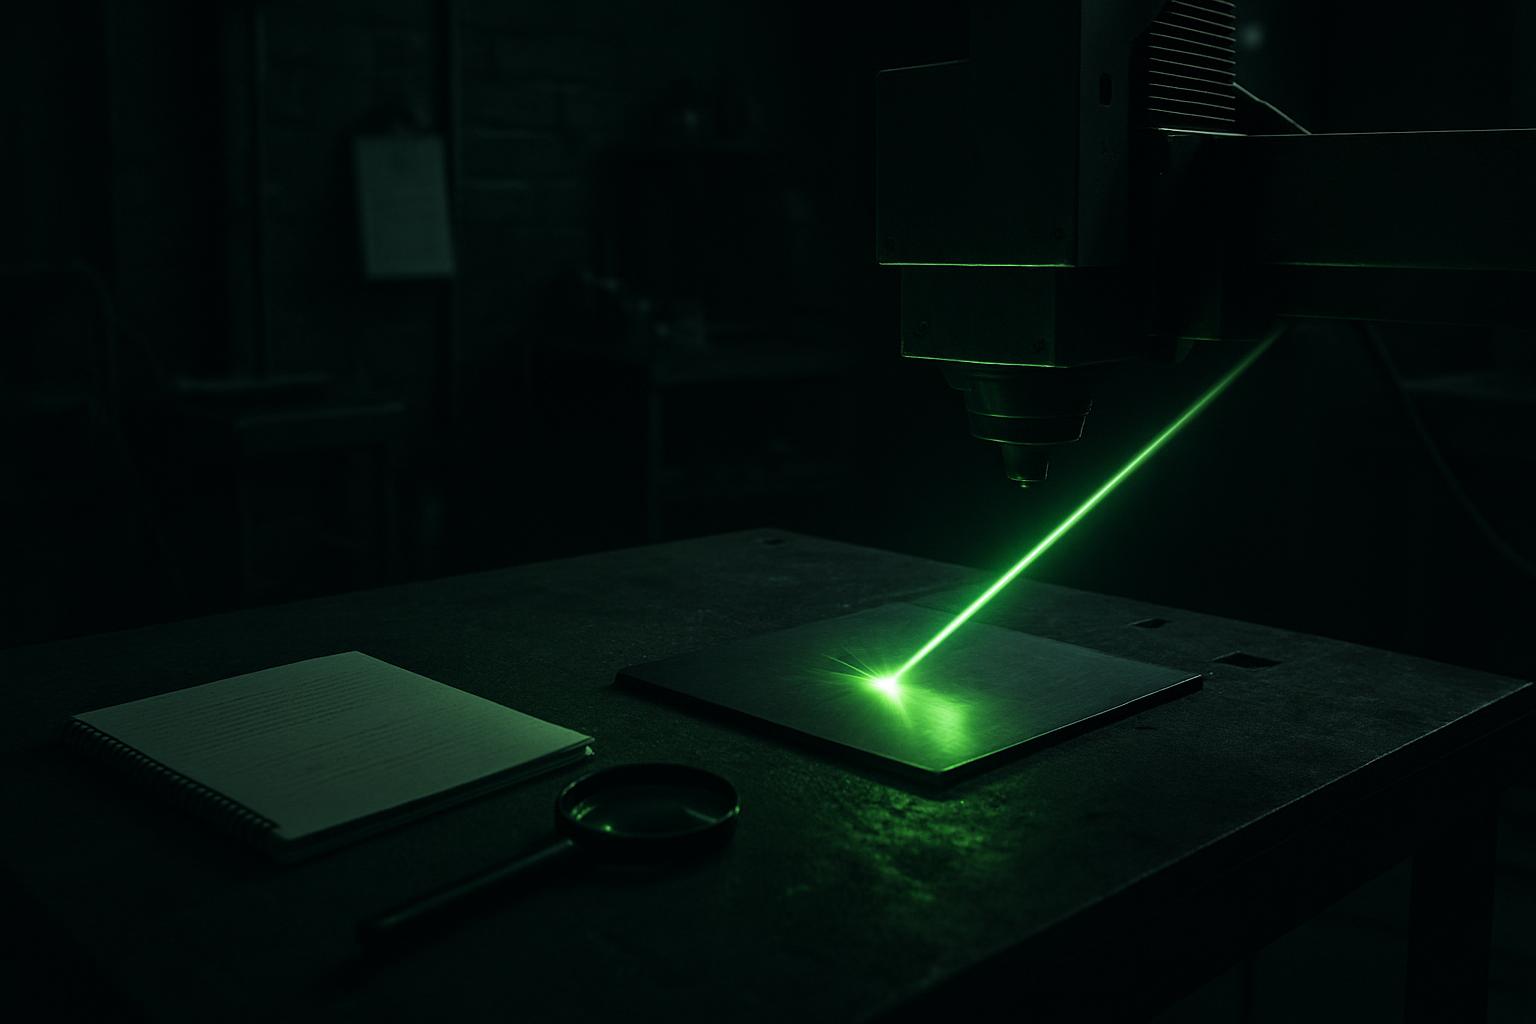
Checking laser mark contrast under a loupe is essential when small characters must be clear and permanent, especially on medical and jewellery parts. Quality matters at this scale.
Contrast issues in fine laser marking
On a busy SA shop floor, especially in medical and jewellery work, marks have to be perfect and visible, even under close inspection. The challenge comes when you move to characters under 1 mm: contrast is no longer just about power and speed, but also how the surface reacts under a loupe or microscope. Marking too deep, too shallow, or with the wrong settings can ruin a batch right at final QA.
Clients in these industries expect marks that are legible, permanent and meet standards like ISO 13485 or direct part marking rules. Faint, blurry or inconsistent marks can mean remakes, lost time and even regulatory trouble. For our MicroMark Lab users, the loupe is as important as the software.
What works for sharp contrast
After years marking small batch implants, surgical tools and gold jewellery, we’ve learned that the smallest settings make the biggest difference. Two jobs can look identical to the eye, but under a 10x loupe the difference in contrast jumps out. Annealing on 316 stainless, for example, needs enough heat for a dark oxide, but not so much that you swell the surface or fade into grey. With gold and platinum, even a slightly dirty lens or an unstable fixture will cause shadowing or ghost lines.
We run a daily check on the protective window and always lock down small parts in a solid fixture, if the part moves at all, the mark will blur. Fume extraction is also a must, especially with metals like silver, as residue can redeposit on the mark and mess up contrast.
A real case from the field
A customer in Joburg once brought us a batch of titanium plates marked for dental implants. To the naked eye, all the serials looked fine, but two failed QA under the loupe: the contrast was patchy, and some numbers looked almost washed out. The operator had assumed their usual settings would work on this new batch, but the alloy mix was slightly different.
We re-ran test marks, adjusted pulse frequency and gave the plates a quick ultrasonic clean before inspecting again. The new test marks were crisp and black under magnification. That batch made it through after a small tweak that saved the whole order.
Checks and habits for reliable contrast
It helps to run through this list on every medical or jewellery mark, especially when the part is small or high value. Don't skip the loupe check, even if its late in the shift.
- Inspect the protective window (cover slide) and clean if needed every shift
- Lock parts securely with a rigid fixture, avoid tape or loose jigs
- Use fume extraction close to the marking zone
- Test on a scrap or reference part first, then check under a loupe
- Adjust power, speed and frequency to get a dark, crisp mark without swelling
- Clean finished parts if fume or dust is visible on the mark
When to ask us for support
If your marks look sharp to the eye but fail under magnification, or if you see colour shift, ghosting or fading, its worth sending us a message through our contact form. Include a photo taken through your loupe if you can, along with details of the metal and your current settings.
We help many SA shops adapt MicroMark Lab settings for specific alloys or compliance standards. If you’ve got a tricky batch, don’t lose time: we’re used to walking teams through the steps, either from Sunnyrock or your nearest showroom.